Surely that can't be right. Four years since the last update?!
What a horrible slacker I've been!. I've done a little, actually, here and there but never seem to get around to updating the site.
Trans Am is sold, went to Finland to be parted out. DD is almost paid off,
maybe something better as a replacement.
Also these are really bad thumbnails. I've replaced the computer I was
using and no idea what software was making the thumbnails before, but I don't
have it now. Will find something better.
 |
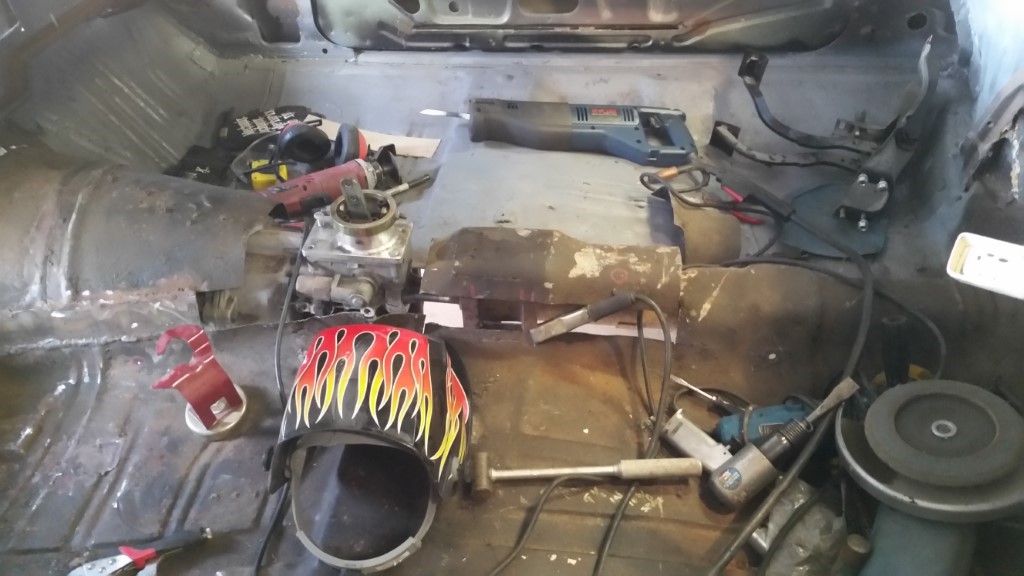
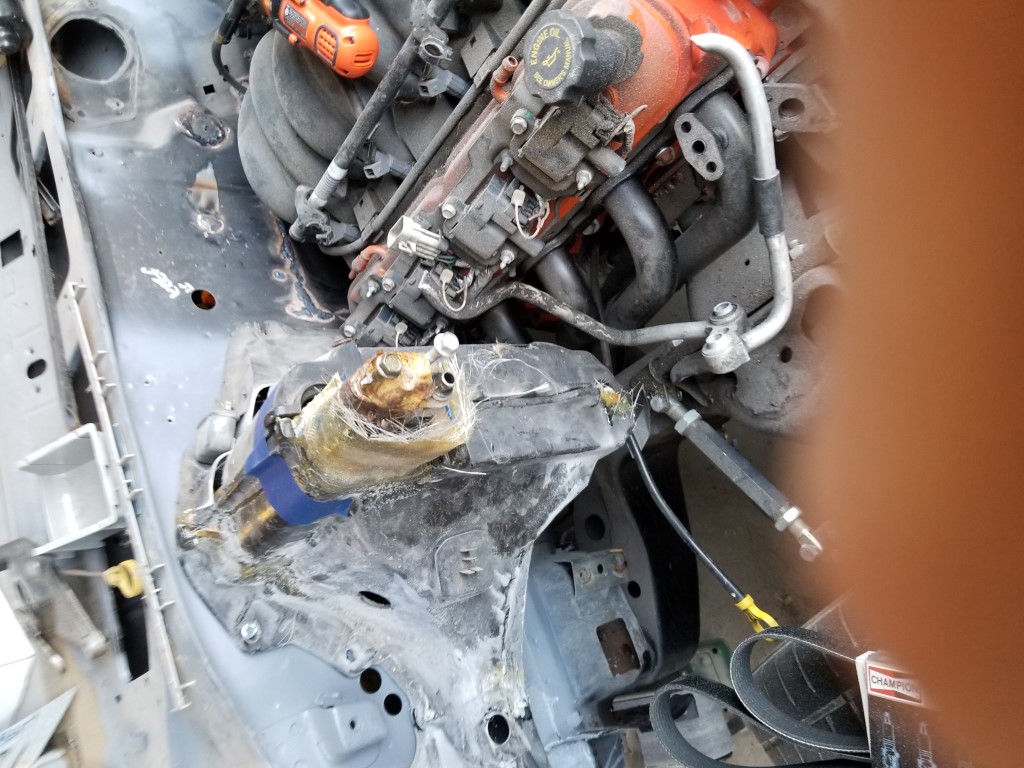
So here's essentially where we left off last time. The brace was
extended to add two inches to the tunnel with some 16ga It's
just tacked in there at this point.
You might also see the driveshaft
in the transmission. Turns out, this is not the right yoke -- I've
never owned a TH400 but somehow I ended up with the 32 spline yoke from a
400's driveshaft rather than the 27 spline. Since I'm an idiot, I
thought it just wasn't sliding in right and I may have damaged the output
splines. Will have to pull the tailshaft housing off to check; was
going to have to pull the engine/tranny out anyway to finish the welds and
paint the underbody/firewall. |
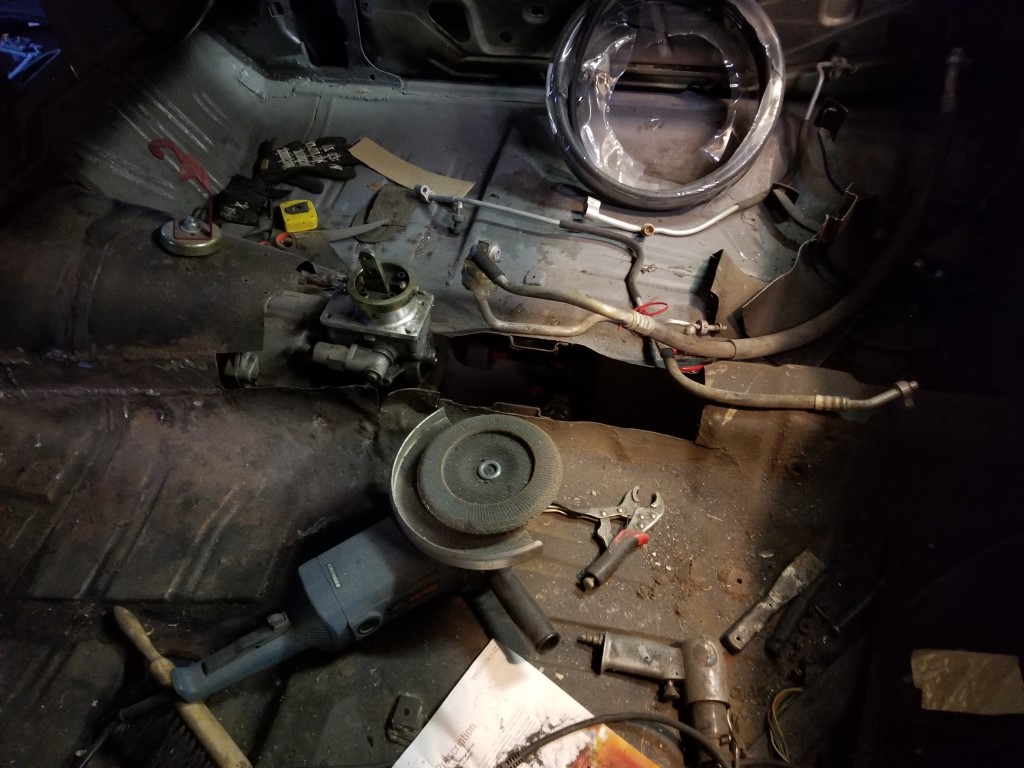
| The tacked-together brace didn't hold when I started trying to get the
jammed-in-there driveshaft back out. |  |
 |
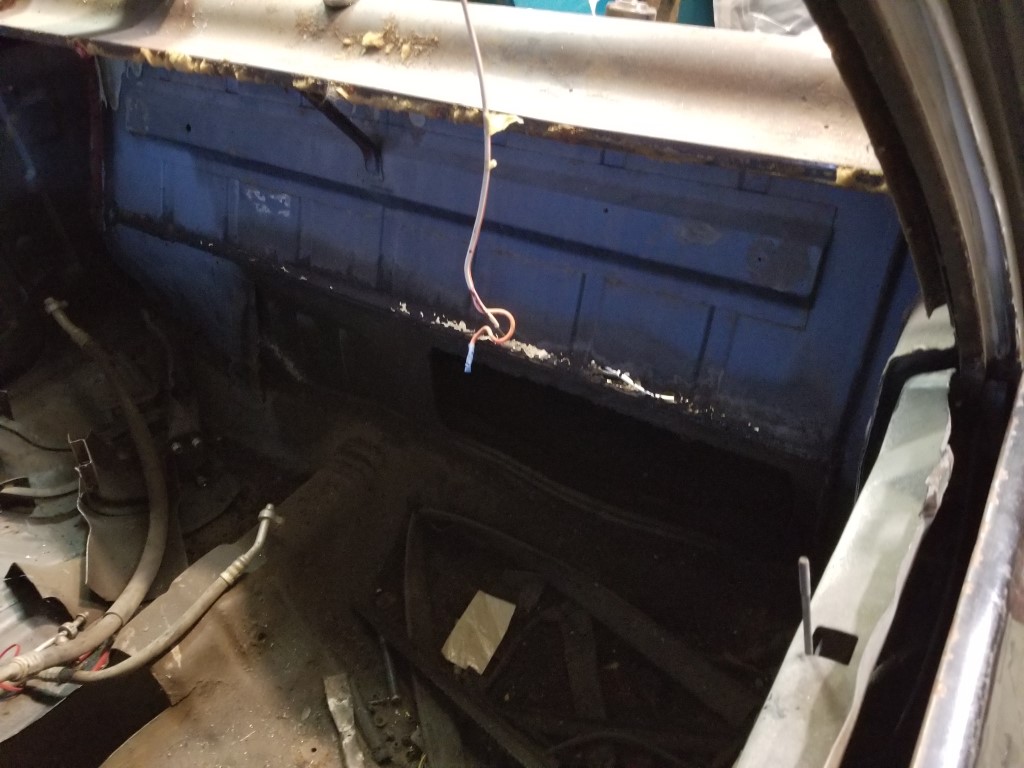
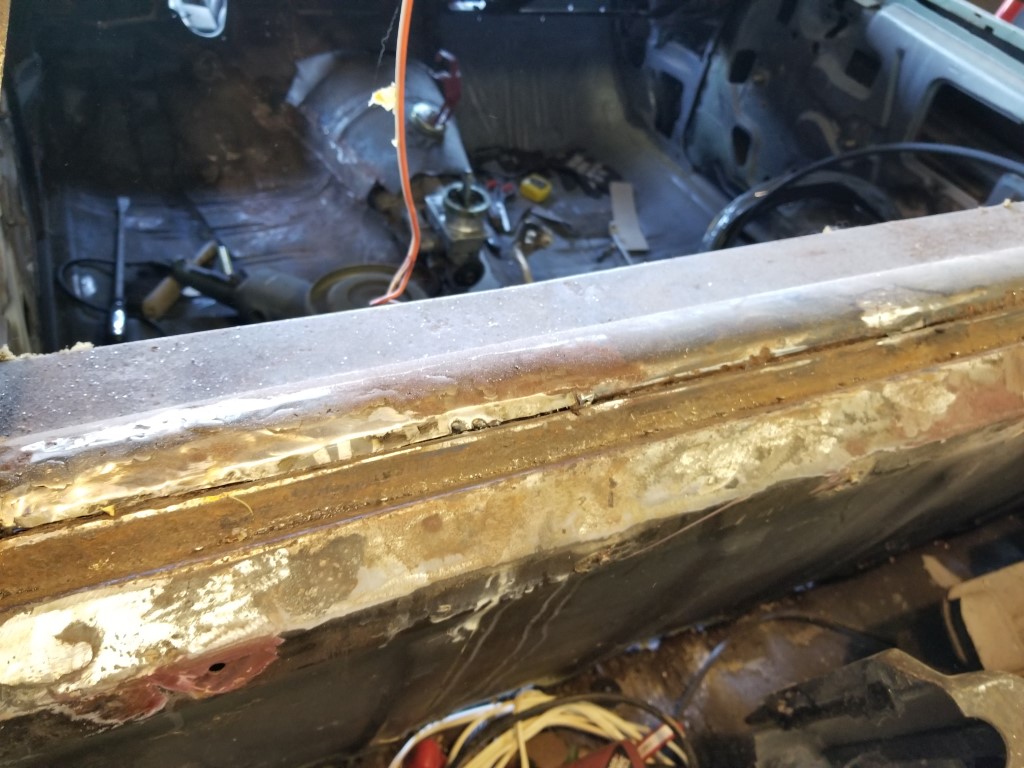
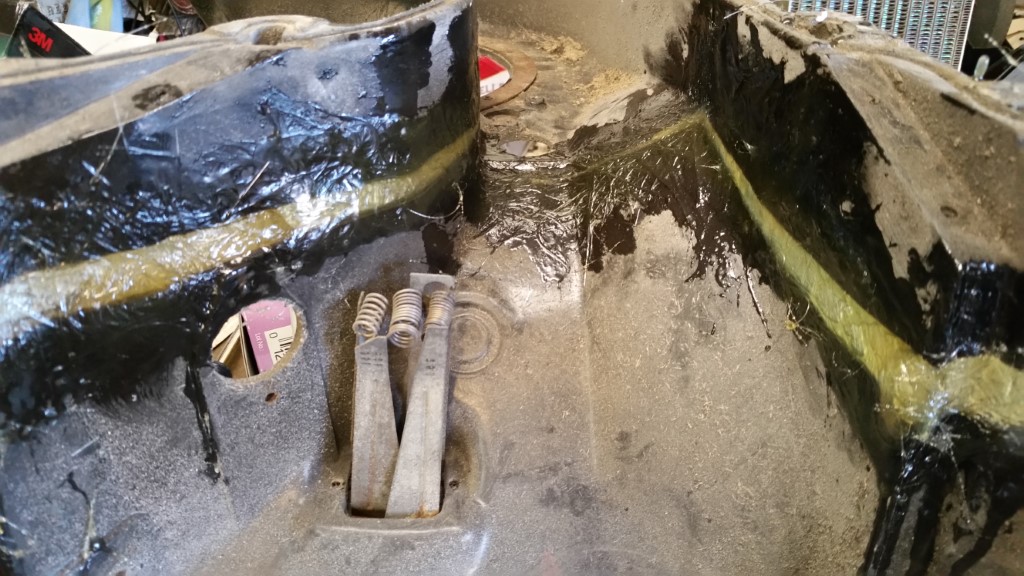
Here you see the remaining rust in the back wall of the cab. |
I've patched the holes on this side of the package tray. Not
perfect, but doesn't have to be.
No picture, but also patched
the inside of the sail panel. |  |
 |
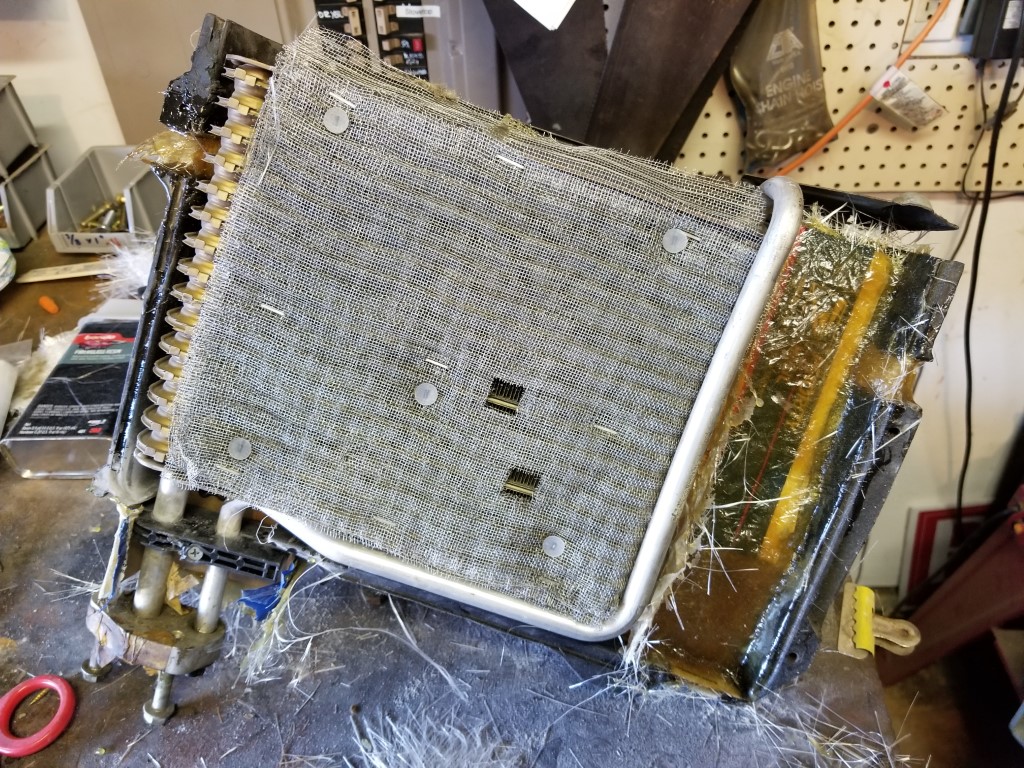
So I had a great idea: Make the firewall box that the General put in
the car in '69 fit the 4th gen F-body evaporator. It needs to be
deeper, and the best way to do that is to pie-cut the box and fiberglass it
back together.
Pie-cut so the blower housing doesn't change shape -
don't want to try and do anything fancy there, hoping to end up with a stock
69 fan there. |
| The new core is not as tall as the old one, so a spacer was made out of
cardboard and also covered in fiberglass. Here is where I learned the
difference between "fiberglass mat" and "fiberglass cloth". |  |
 |
The fiberglassery also needs to happen to the inside, of course. Doesn't
have to end up pretty here. |
| It actually looks like it's going to work pretty well. At this point
I've not actually done anything to keep the core lined up or sealed (see the
big rough hole in the front the lines come out of) |  |
 | The F-body
evaporator uses a plastic spacer with a rubber weatherstrip around it.
I've wrapped fiberglass around it to secure and seal it. This looks to
be working out well. |
| Time to build out the flange so it can be mounted. |  |
 |
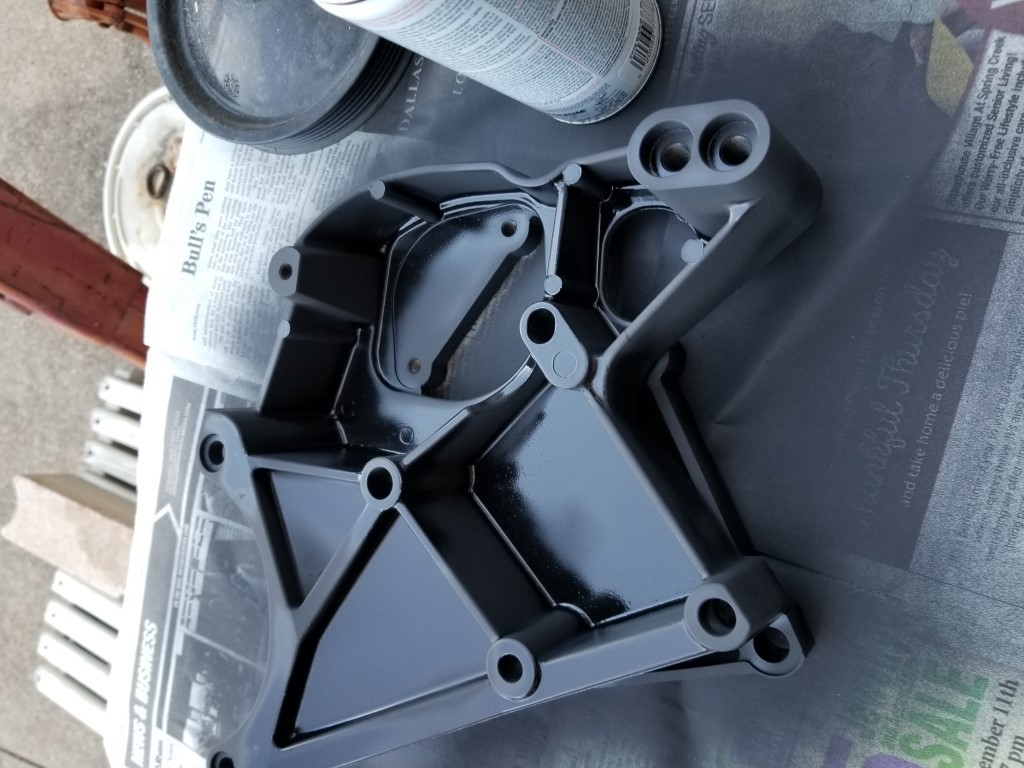
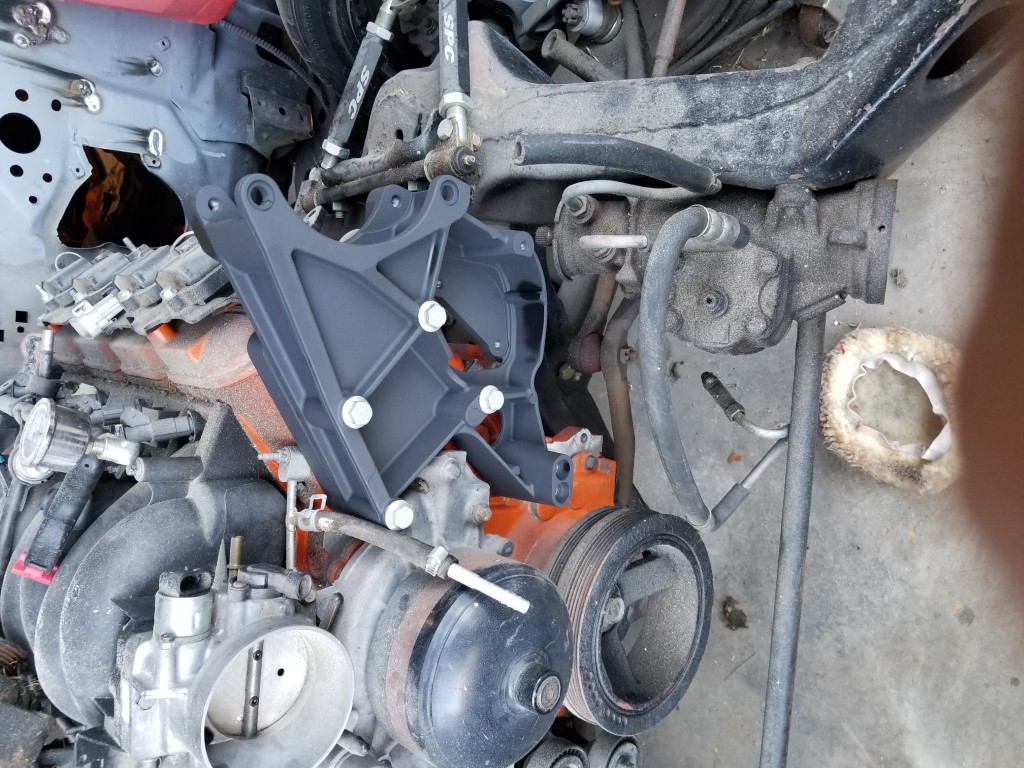
I got the Holley alternator relocation bracket. It looks nice, but my
Friendly Local Auto Parts Store (FLAPS) did not have the Corvette PS pump it
calls for. |
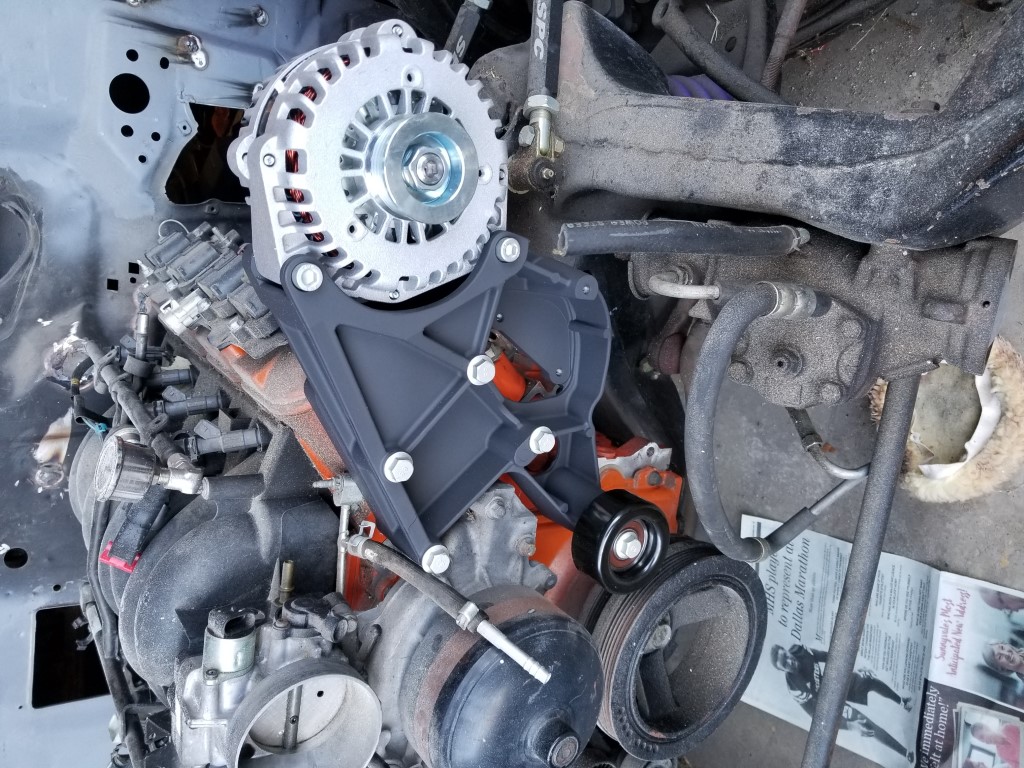
| Painted and bolted up. |
 |
 | The FLAPS
did, however, have the 2005 Silverado 145a alternator, so now I have it
instead. |
Tore down the F-body PS pump to see how closely it matched what the
instructions were calling for.
It does not. Will have to
special-order the Corvette PS. |
 |
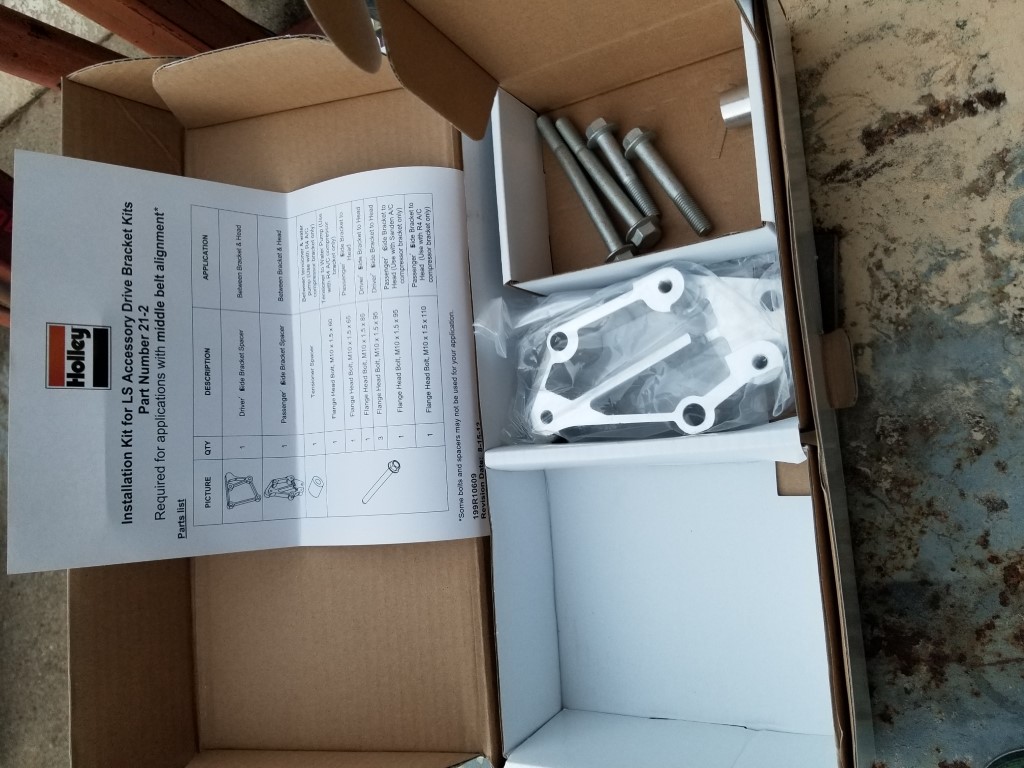
 | The
mid-length adapter for the Holley kit comes with the adapters for both the
alternator and for the AC.
I'd thought to list the AC side for
sale for roughly half the price of the adapter set. |
I went ahead and tried mocking up the lines for the stock F-body AC
compressor, to see just how much more notching would be needed.
All
of it. I'd have to notch everything.
That won't do.
Suppose I'm going to need the Holley adapter after all. |
 |
 |
Garage is significantly cleaner at this point. |
New job as of earlier this year, which comes with the unexpected: I have actual vacation coming starting mid next week. Expect more frequent updates.