

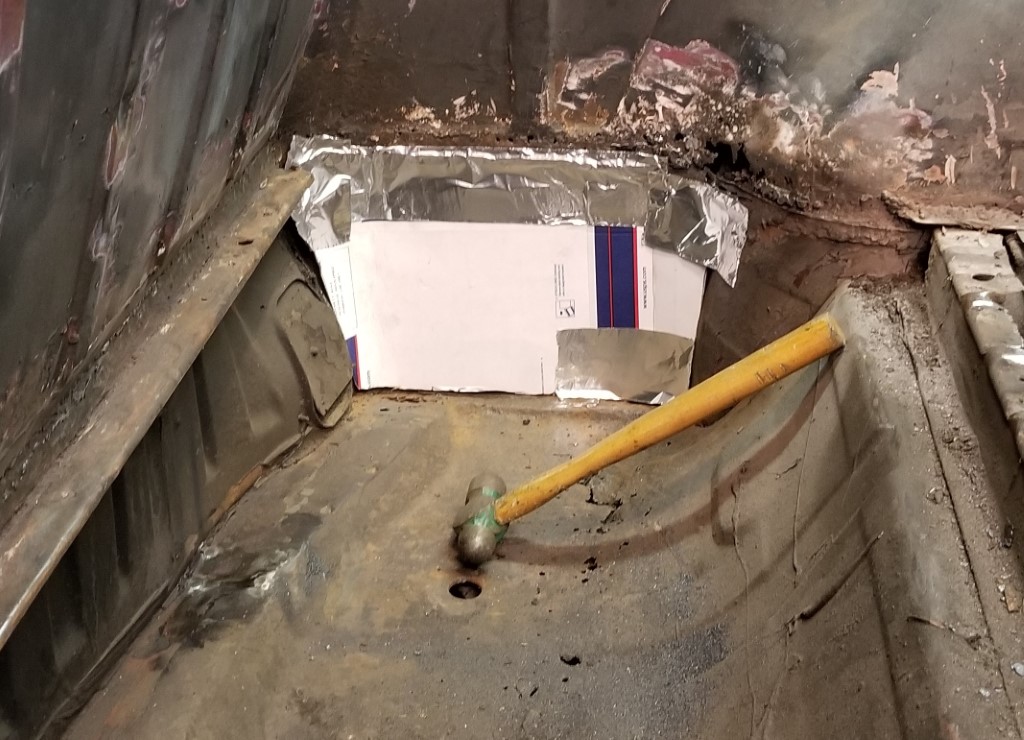
I've found that the aluminum tape you'd use for ductwork is really really good for patterns - it's stiff enough to hold a shape, soft enough to cut with a knife.


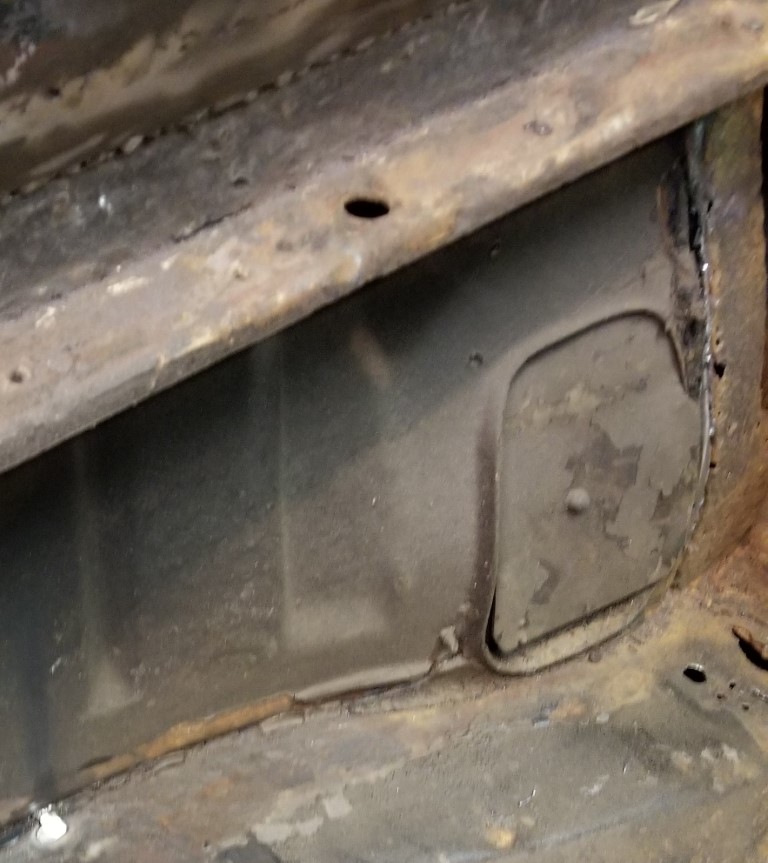
| Test-fit of the front bed panel. It doesn't seat. It looks like I'll need to round the back corners. |
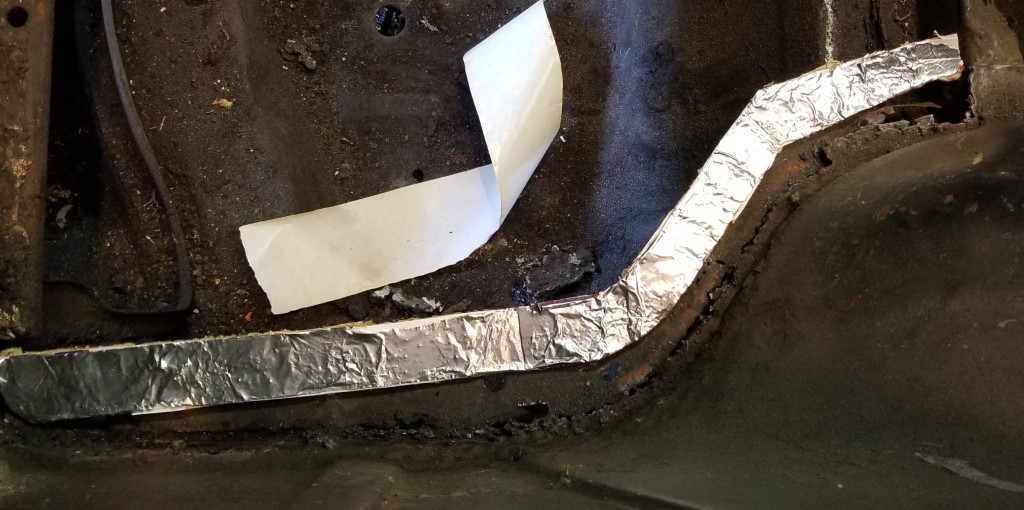
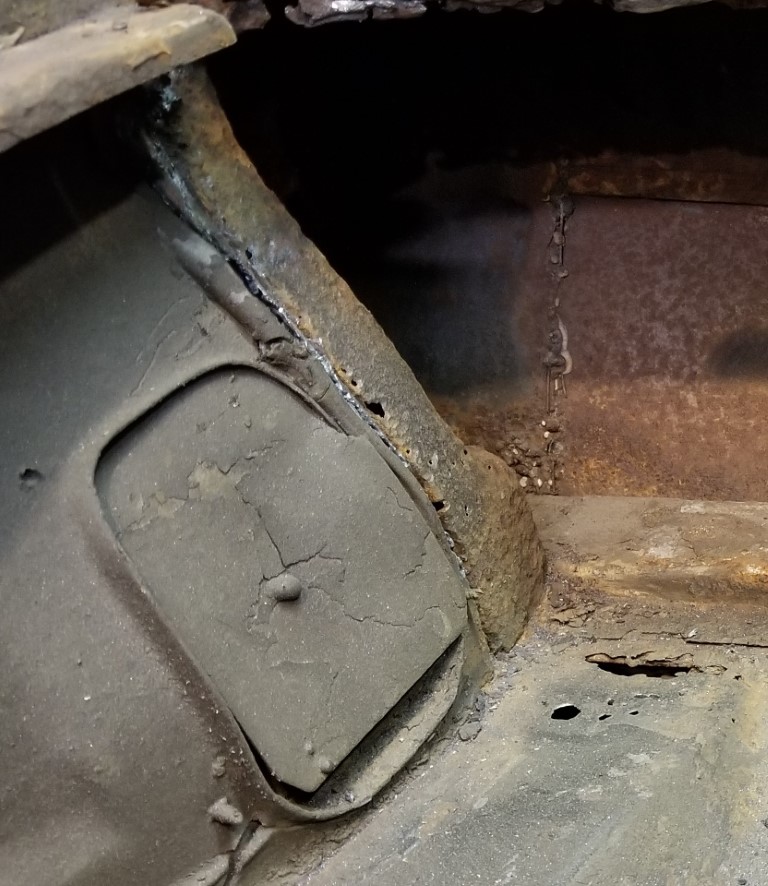
| Made a pattern for the pass side panel shelf | |
| Flap disk to clean up the welds on the strip. |
| Finished cutting the front-of-bed damage away. | |
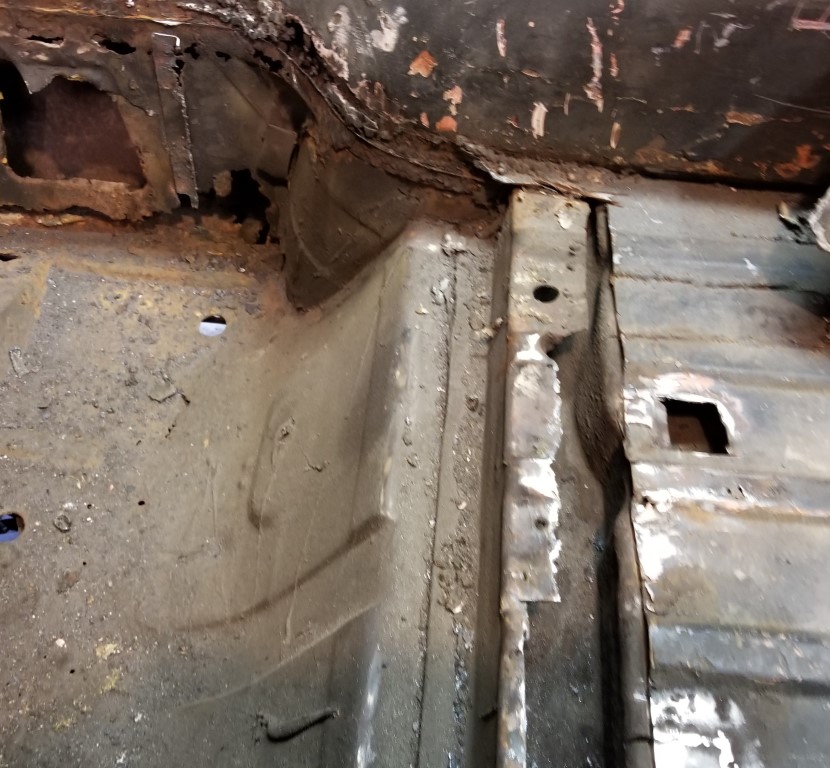
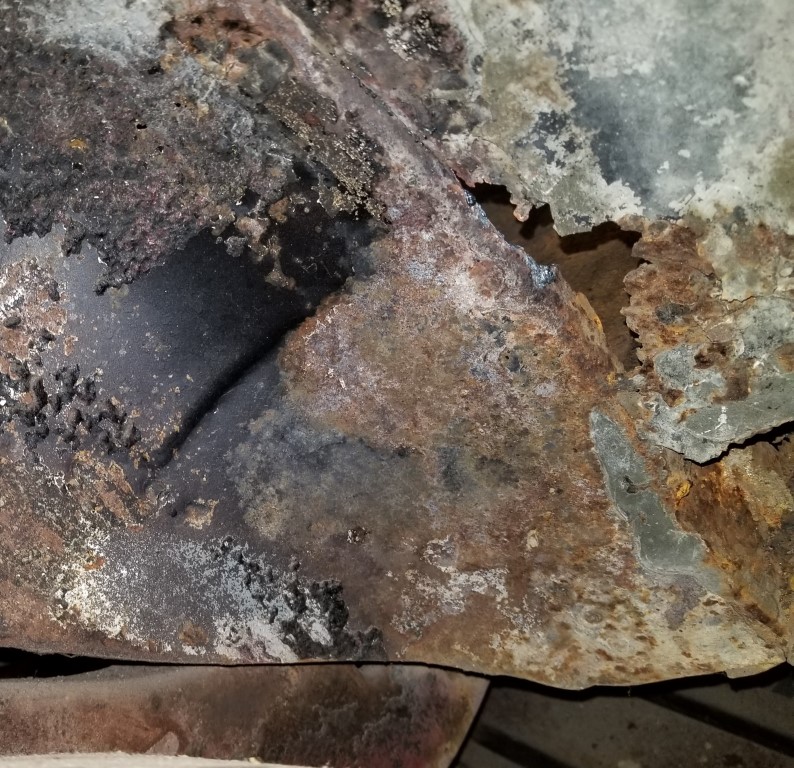
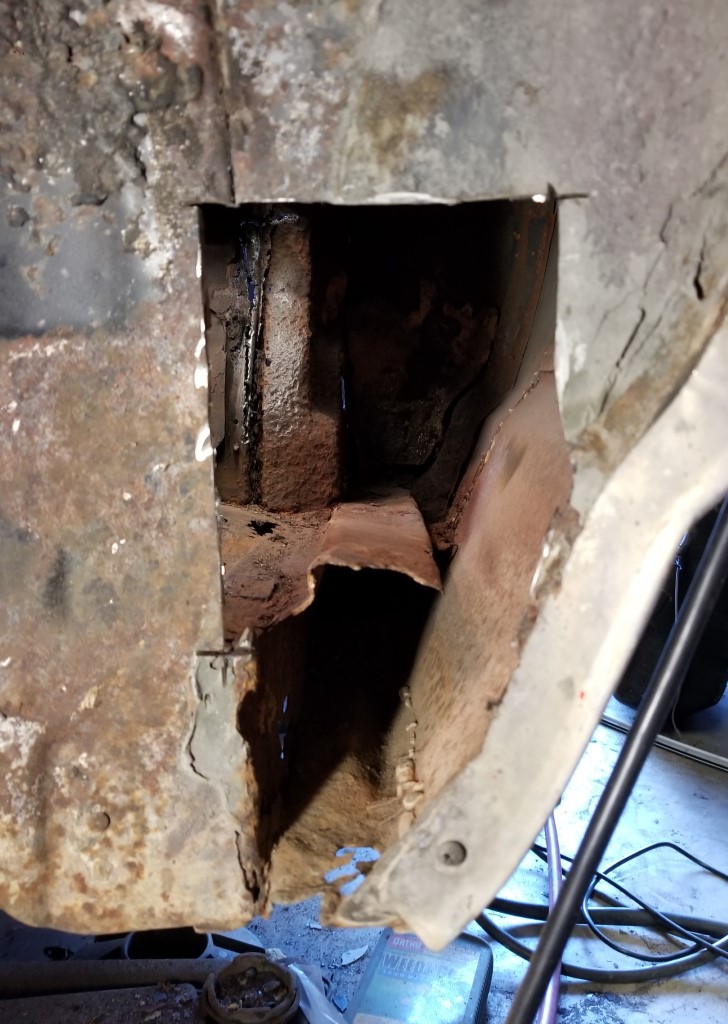
| Cut out the pass side panel. Once again, more rust than expected: |
| Namely, this at the front of the wheelhouse. | |
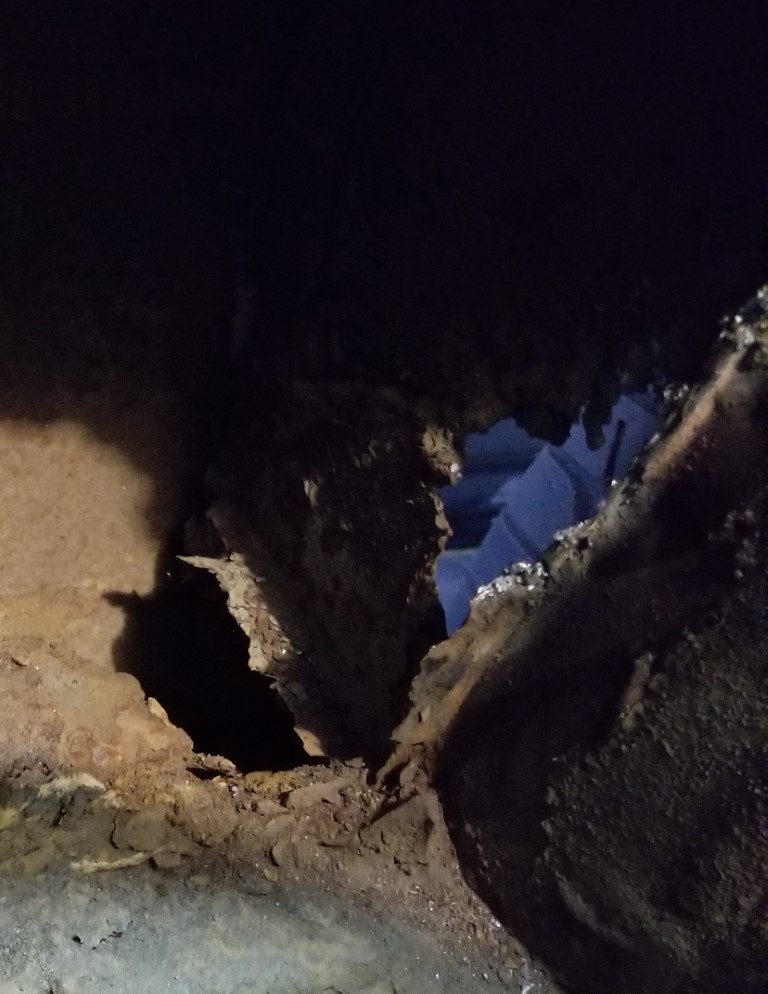
| I used the plasma to remove the side panel. It looks like I sliced through to the cab, too. |
| Yep. I'll have to weld that back up. | |
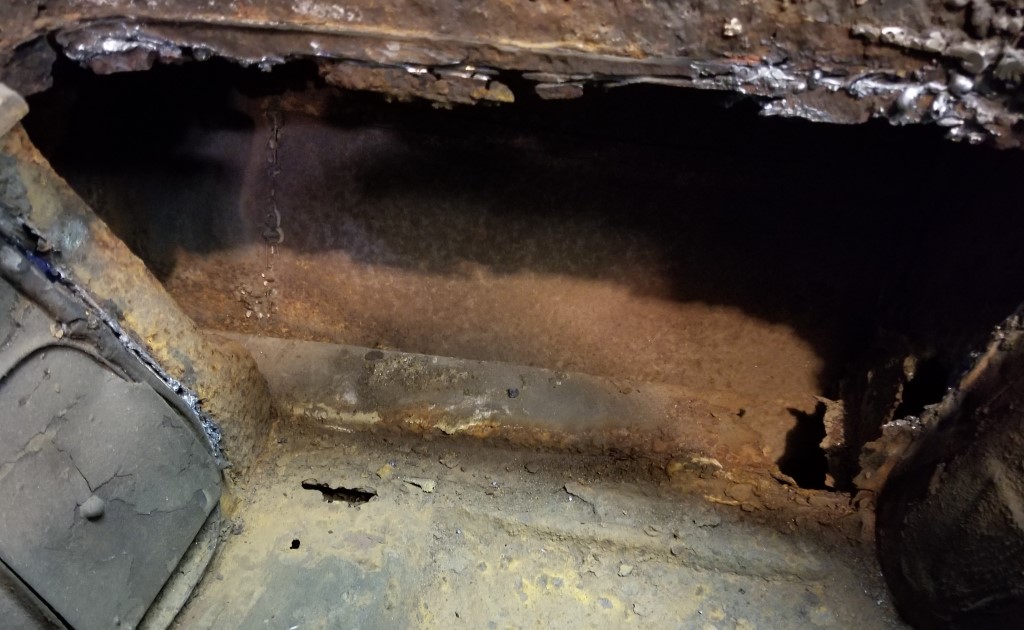
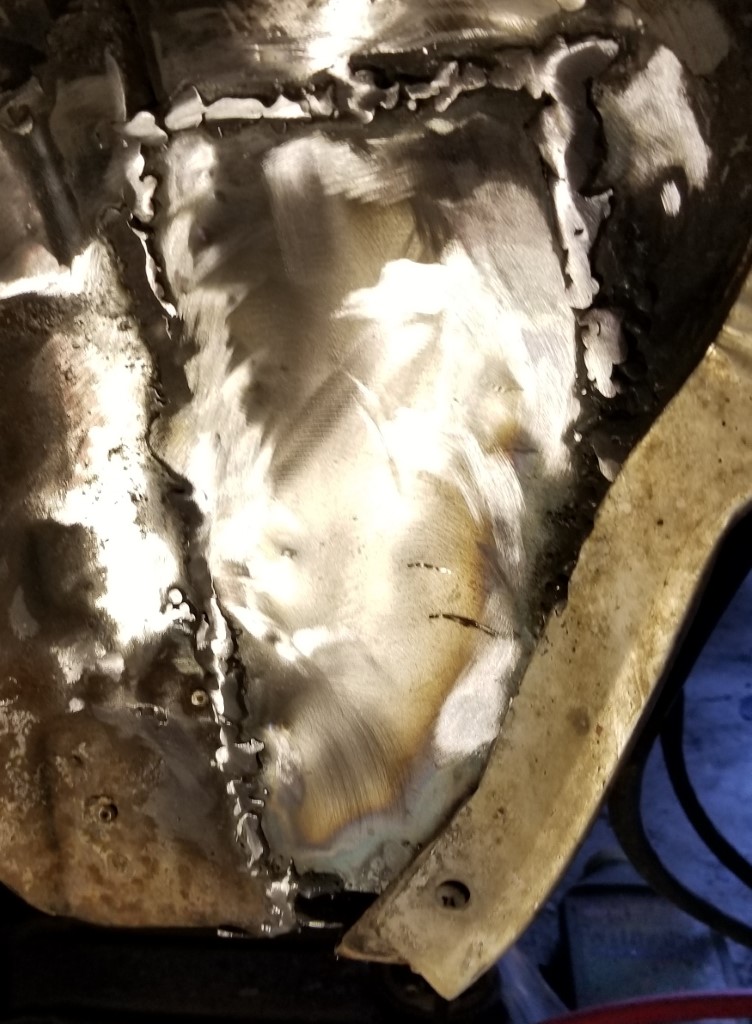
| View from the wheelwell |
| Without flash, to make the holes more obvious. | |
|
Made a pattern for the pass side closeout, too. I've found that the aluminum tape you'd use for ductwork is really really good for patterns - it's stiff enough to hold a shape, soft enough to cut with a knife. |
| Completed pattern. I'll cut a square out of the middle of the real metal. I'll need it to paint/seal the backside. | |
| Of course, can't close that up until the wheelwell is fixed. Took the wheel off for access. |
| Cut me a nice square. Partway through this process, my die grinder failed (didn't know that was a thing) - started getting a serious wobble, which made the cuts not really work so well. | |
Off to harbor freight. Tools replaced.
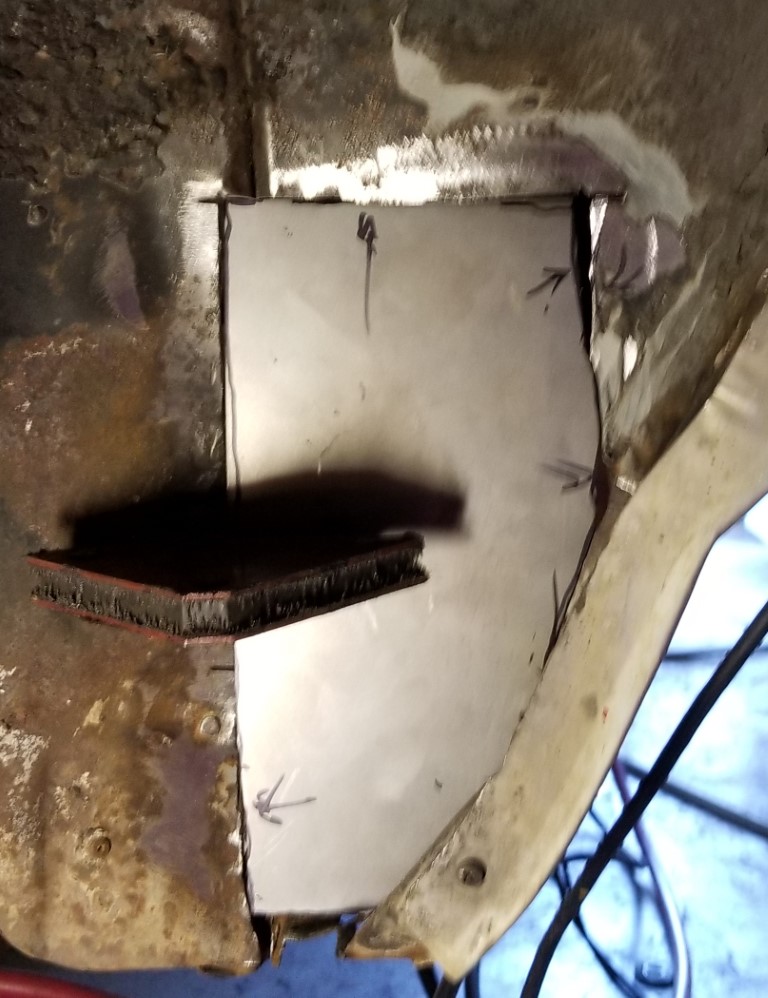 | Patch panel created |
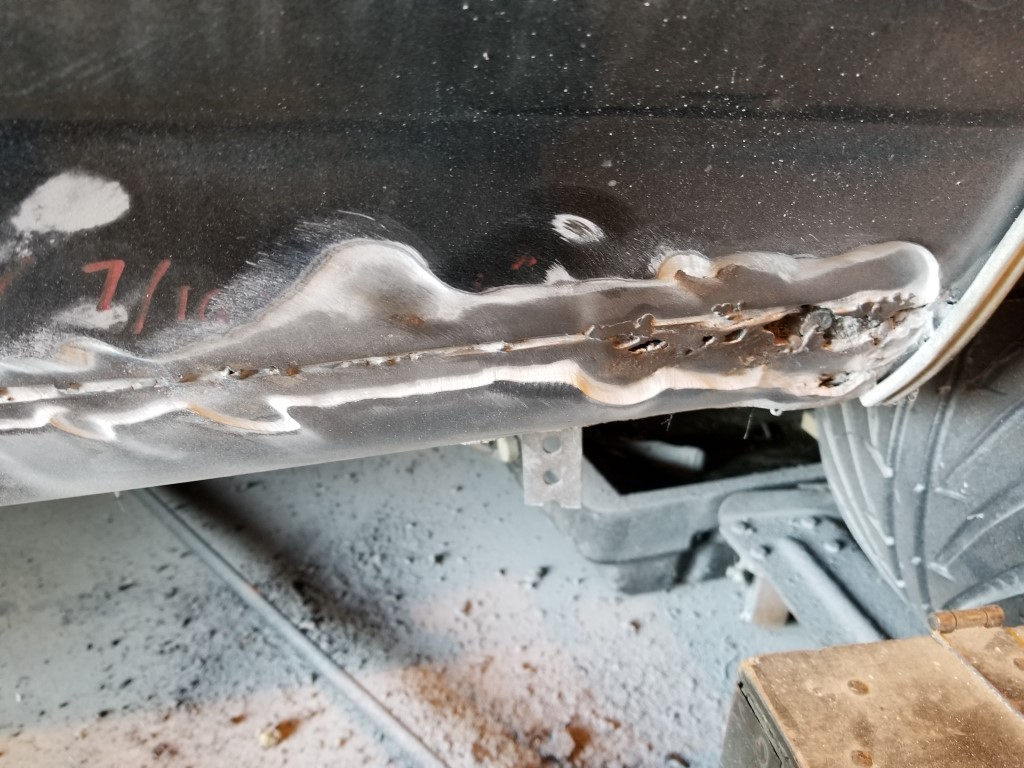
| Ugly welds applied. | 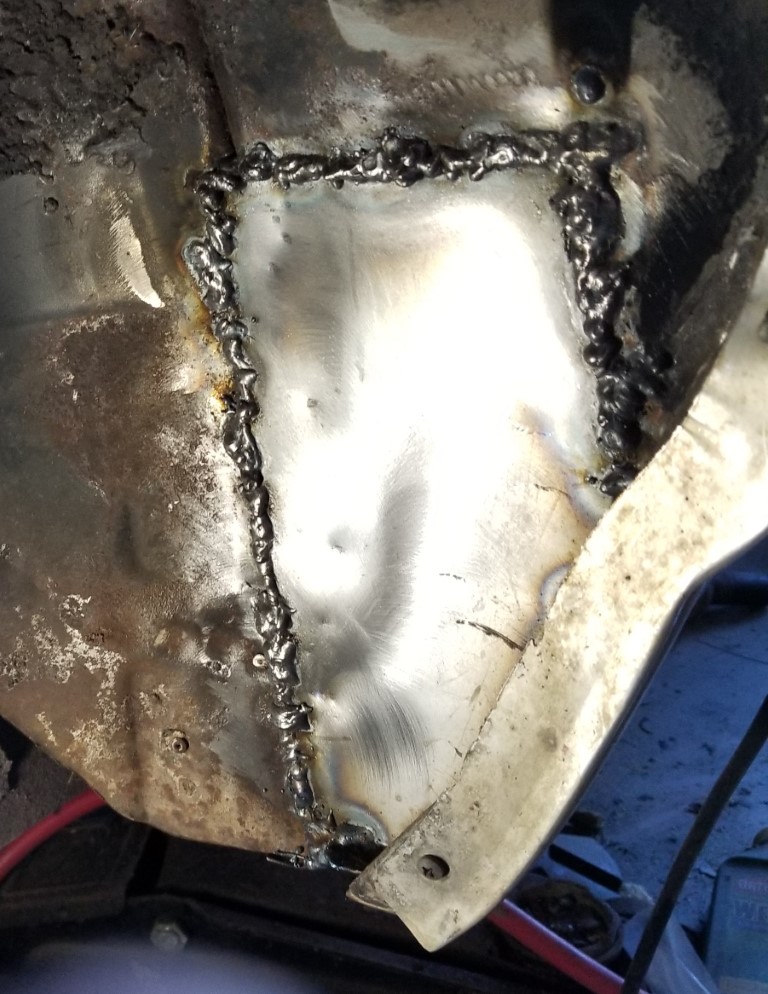 |
 | From the inside. |
| Grind welds. | 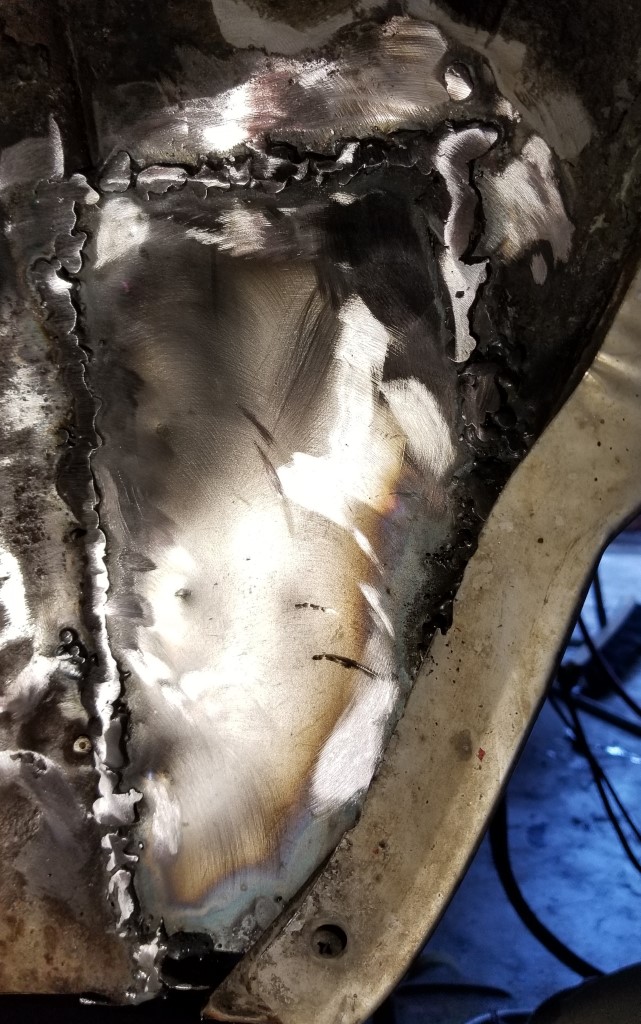 |
 | Grind, grind, grind. Still pending seam sealer. |
| Applied POR-15 to the inside of this area. I'm not going to be
cutting the contents out. This is the same can of POR-15 as shown in the 24 May 2003 update. The secret is to poke two holes in the lid and put screws in, rather than taking the lid off. It's getting low though. Need to get a new can. |  |
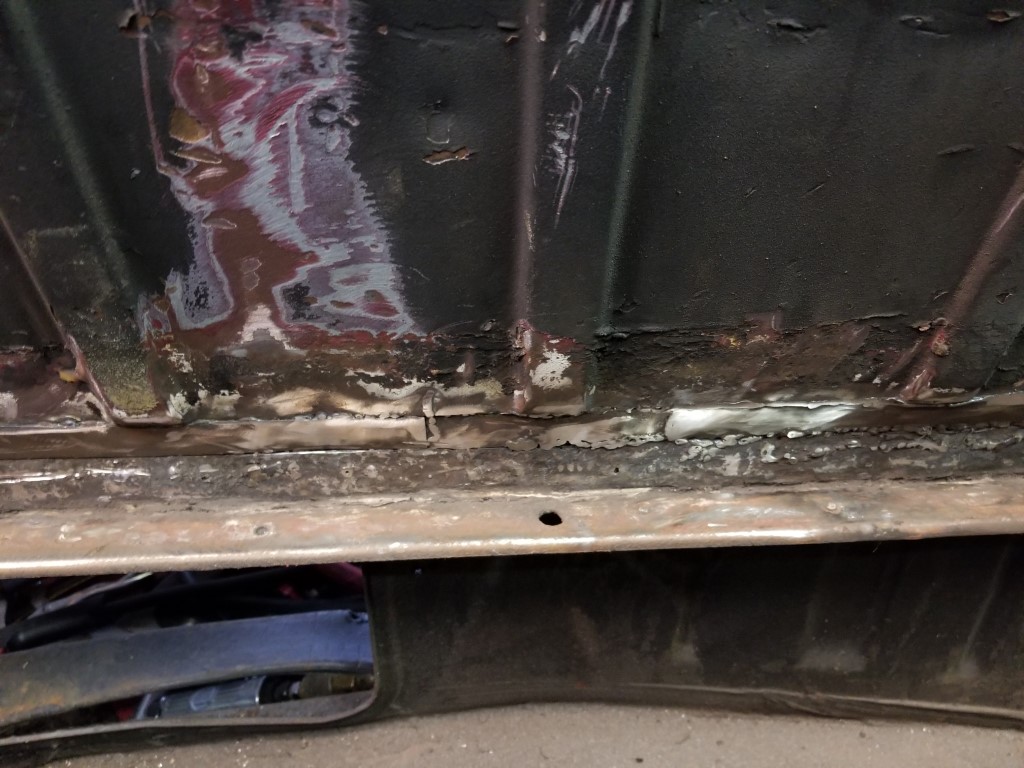
 | Driver's side behind the door had some bubbling going on. This is less rust than I expected. |
Go back to the previous day (20 Feb 19)