Here if you want to see the before.


here if you want to see the before.
At least not right this second.

So - the welder.
It appears that welder gnomes have attacked my garage, and set the polarity on the MIG welder backward. Surely it's not been wrong for better than a decade, because it had been working up until recently. Regardless, I changed the polarity to electrode positive.
First test bead: dead silent, just a really bad blob falling off the workpiece and onto the floor. The google says silent welding is "spray mode", but the settings are set to match the details on the placard.
Maybe the voltage switch went flaky?
A: 19.25v
B: 22.25v
C:26v
D:29.6v
No, those seem realistic. Let's fall back and try going from C-4.5 to B-6 or so, reducing gas to 15cfh.
And then It Just Works.
|
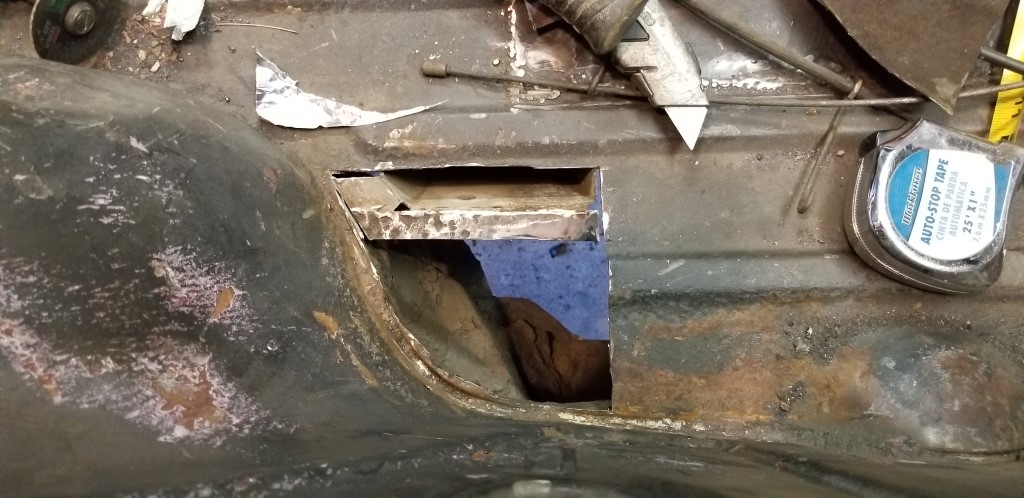
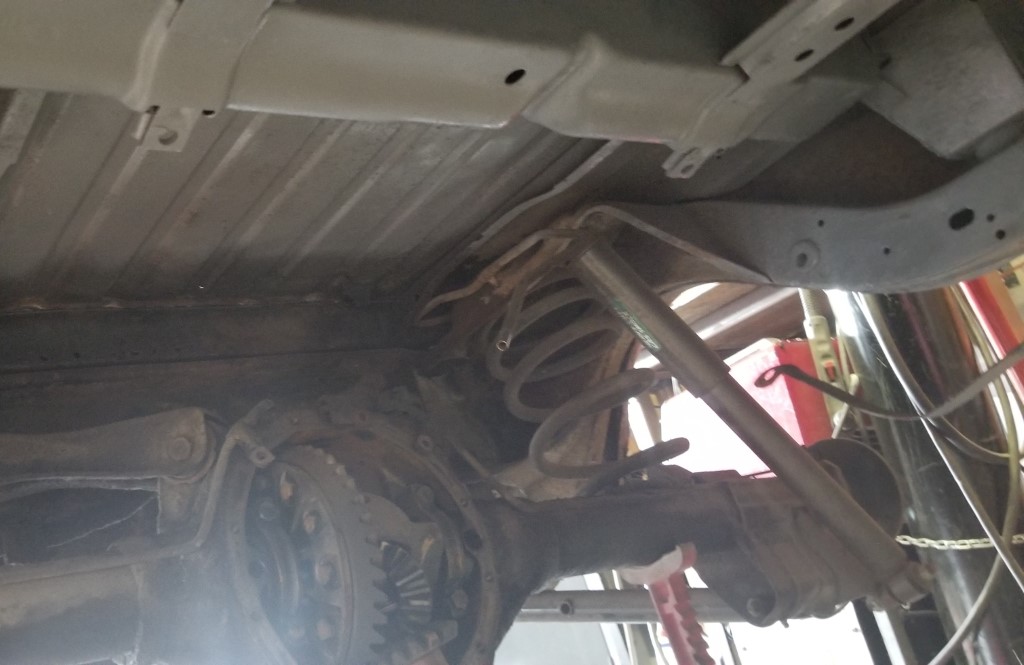
So - there's a little remaining rust. Here's most of it, or at least
where most of it used to live. Here if you want to see the before. |
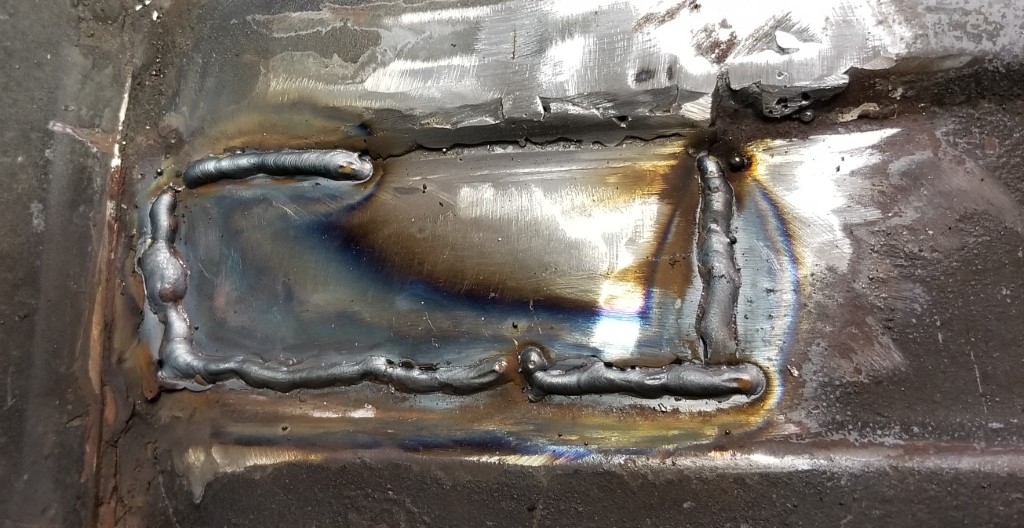
| weld weld weld your car | |
|
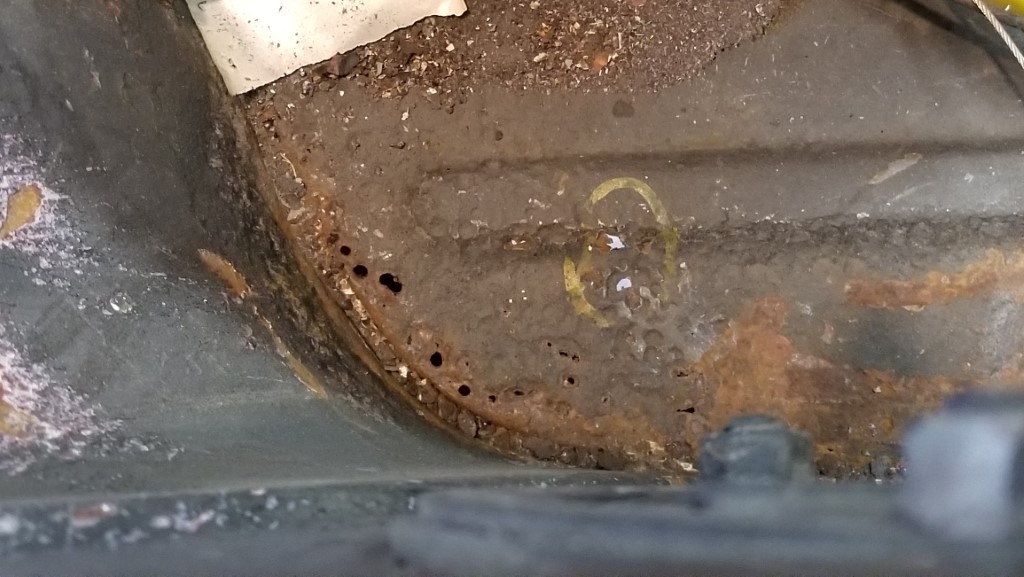
Similarly, in the wheelwell. Again, here if you want to see the before. |
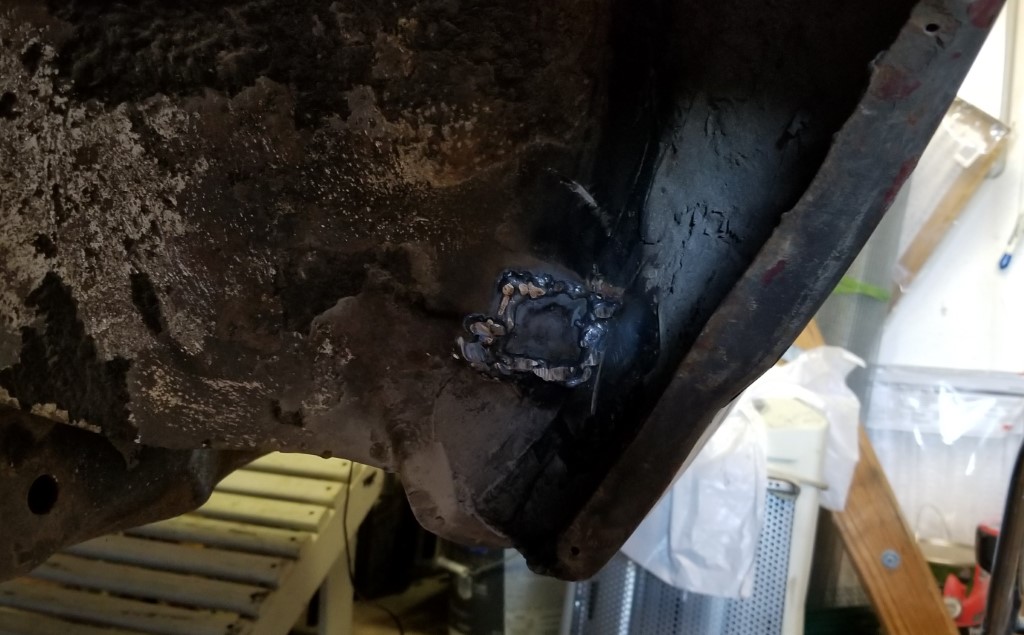
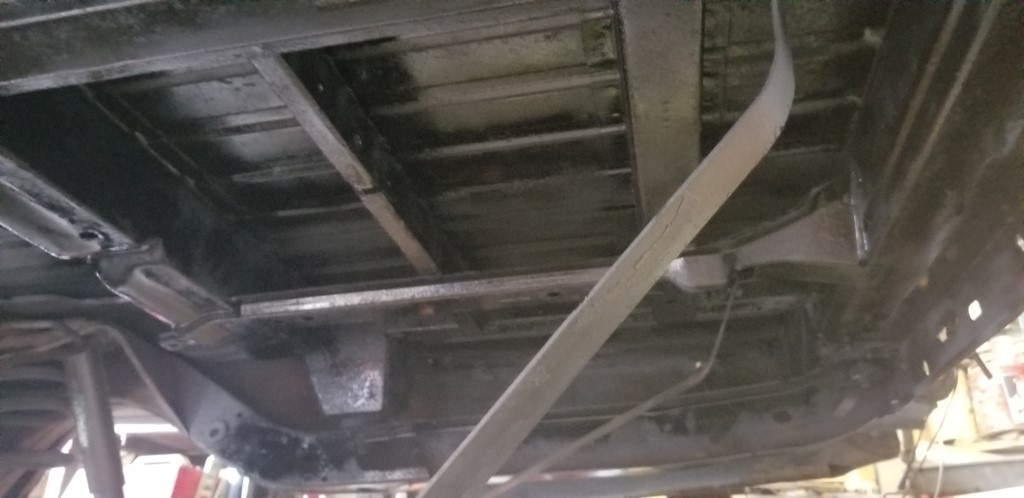
| I have welded. I did not bother doing much cleanup, because this
area Just Does Not Have To Be Pretty. At least not right this second. | |
| Just as a playing thing, here's a patch that had poor penetration. Penetration is good now. Still need to clean it up. |
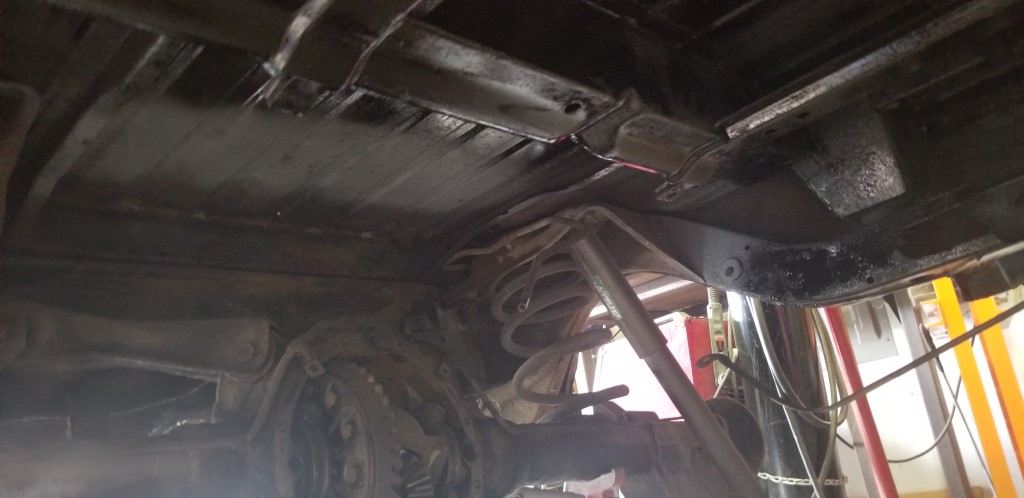
| I shot some epoxy primer on the rear area of the underside. You can see just how bad the bed bracing is. Not going to worry about this right now; will pre-emptively give myself something to beat myself up over later. | |
| Similarly, moving forward. Over the rear axle is about where the priming stopped. |
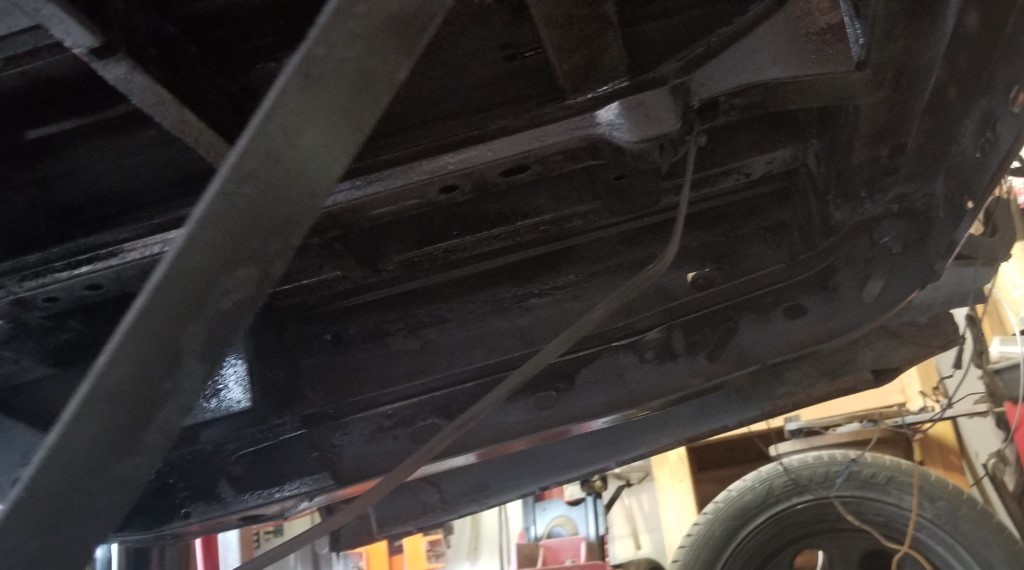
| And then real paint. This is "Majik" implement enamel from Tractor Supply. Seemed to spray well enough, not so good color coverage, might be user error. | |
| Same idea, stop before the rear axle. |
| It's "matte black" flavor, the hardener is supposed to add a little gloss; we'll see how well it works. | |
Go back to the previous day (21 Apr 19)