


Okay, this is Texas, it's summer. It's hot enough that I really can only get started out there at 6ish, and I have to come in at 8:30ish... but I'm making progress slowly.
It's way late for me; quick descriptions now to get this posted and maybe an edit later.
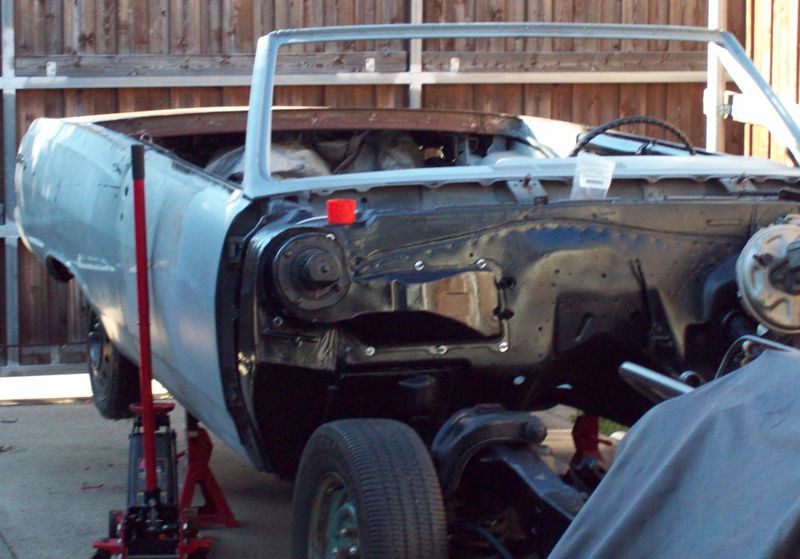
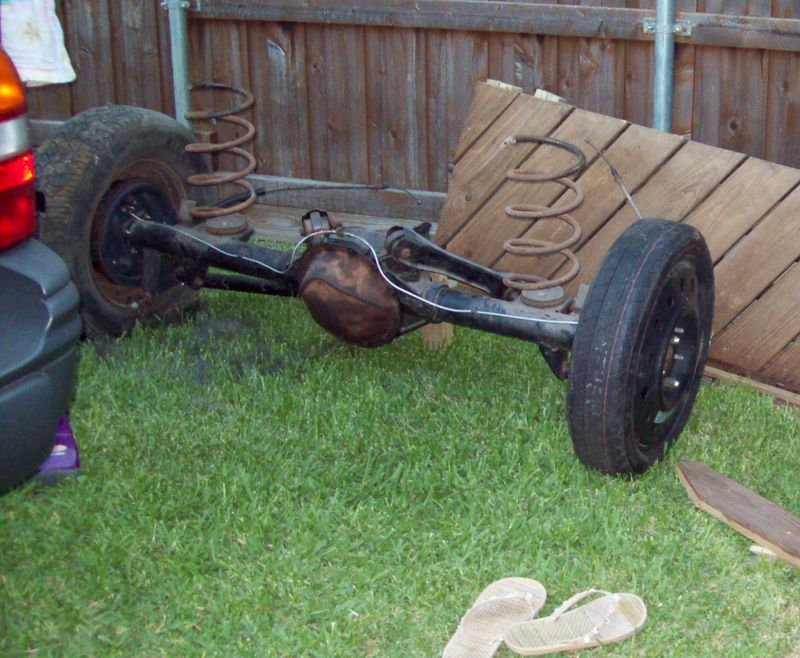
| Okay, the goal is to remove the rear axle for ease of access to everything. Start by jacking everything up... |
| and poof, you've got the axle. | |
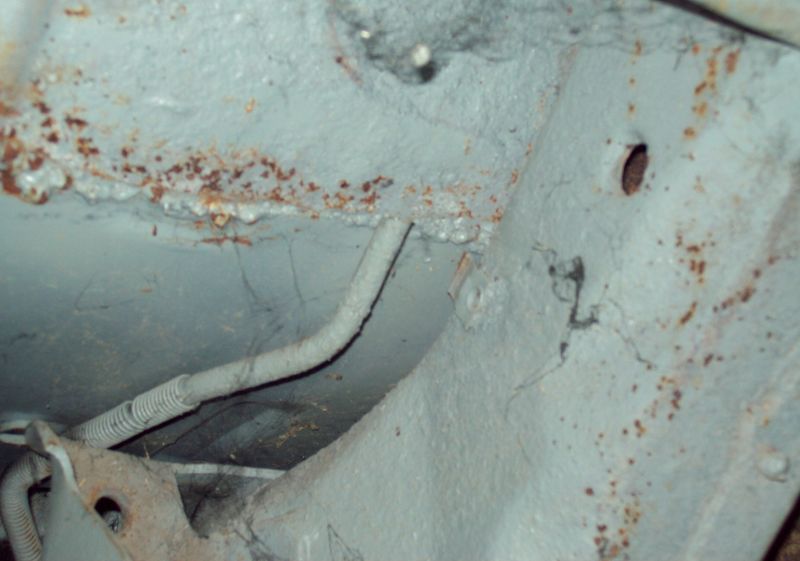
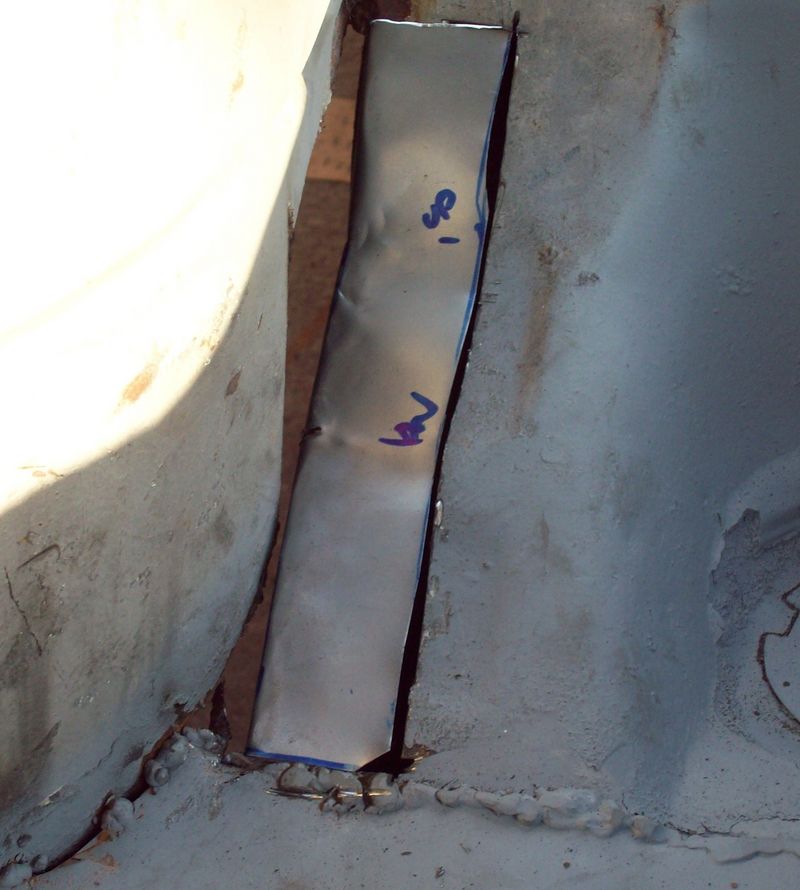
| If you'll remember, I accidentally cut this line when patching the top well. |
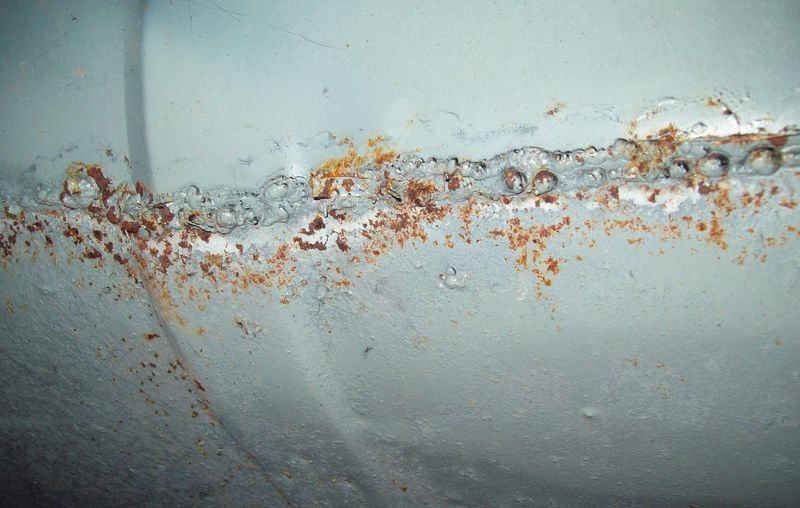
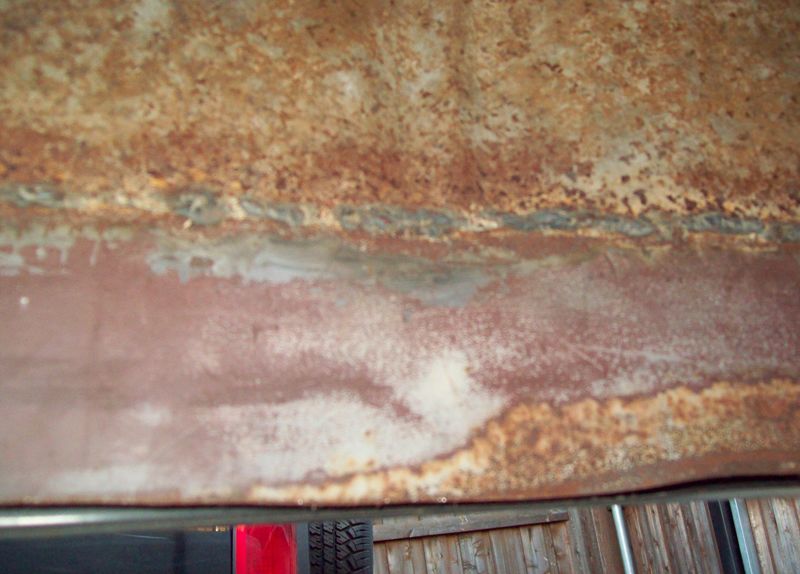
| I think this is the top well patch area; the welds look bad whereever it is. | |
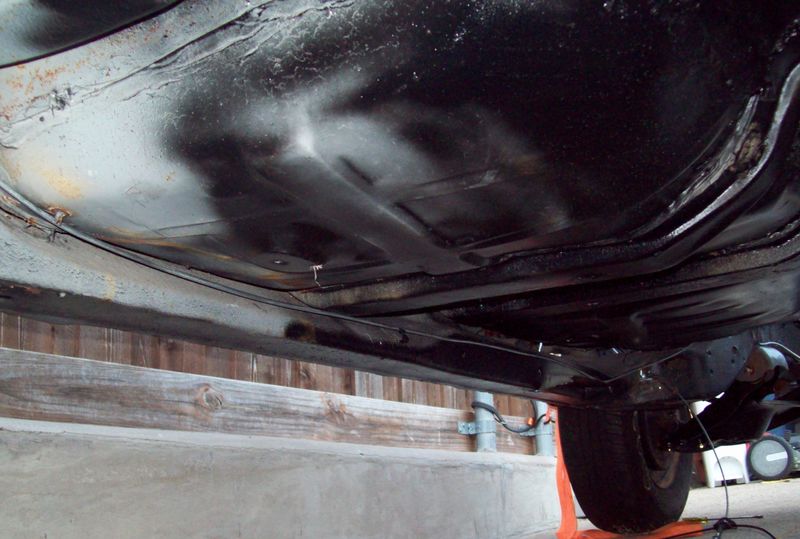
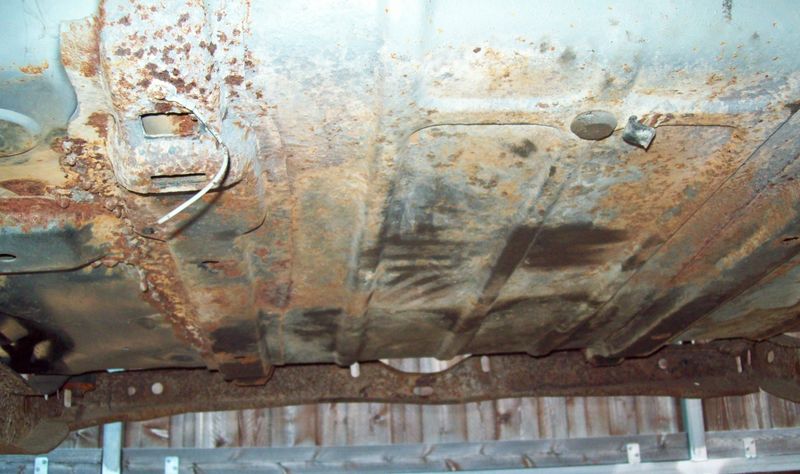
| I've run the brake line to the back, and painted the forward part of the undercarriage where I knew I was done. |
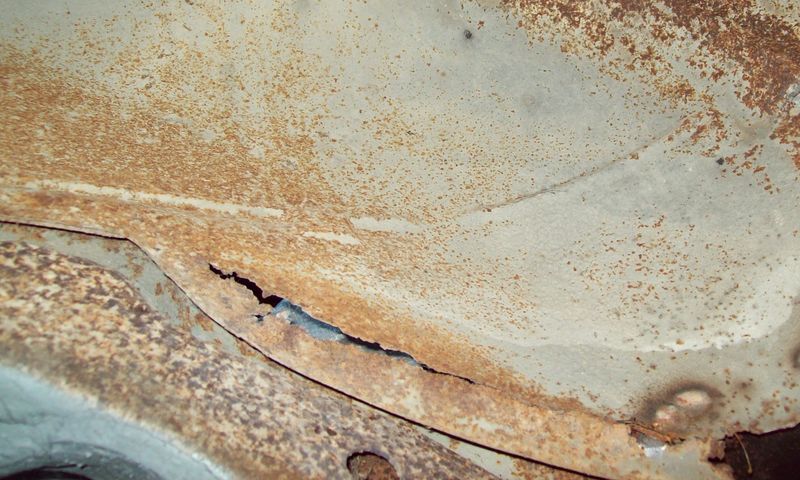
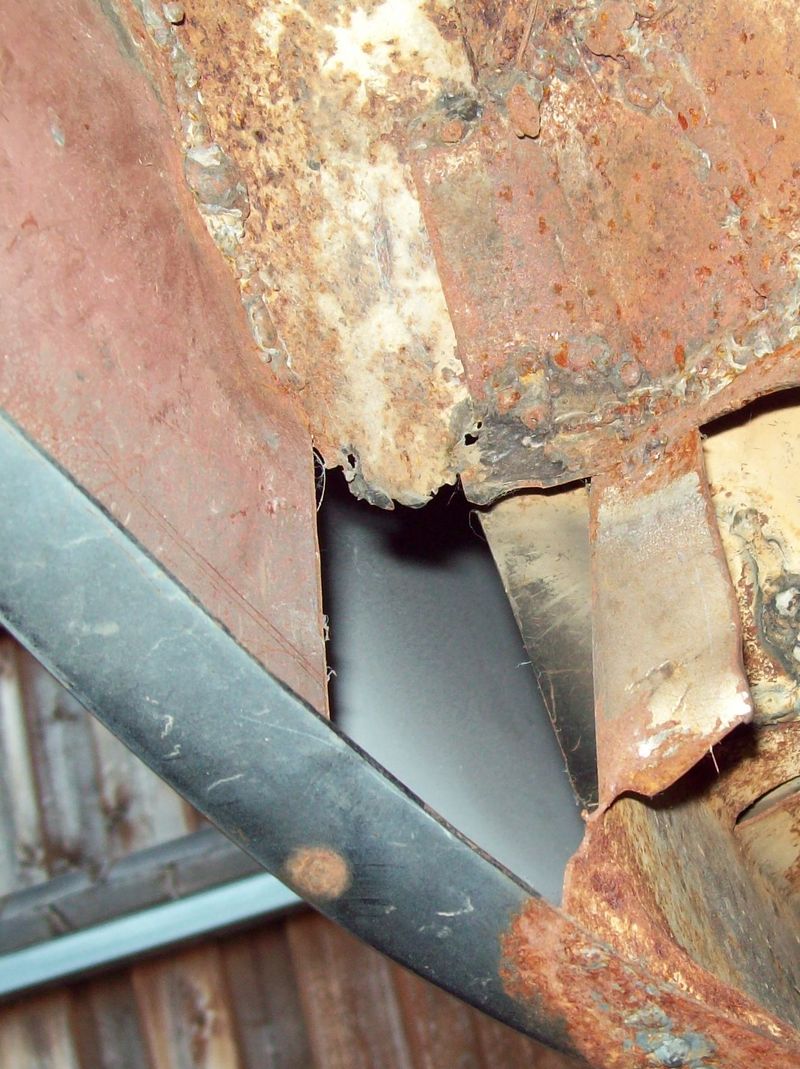
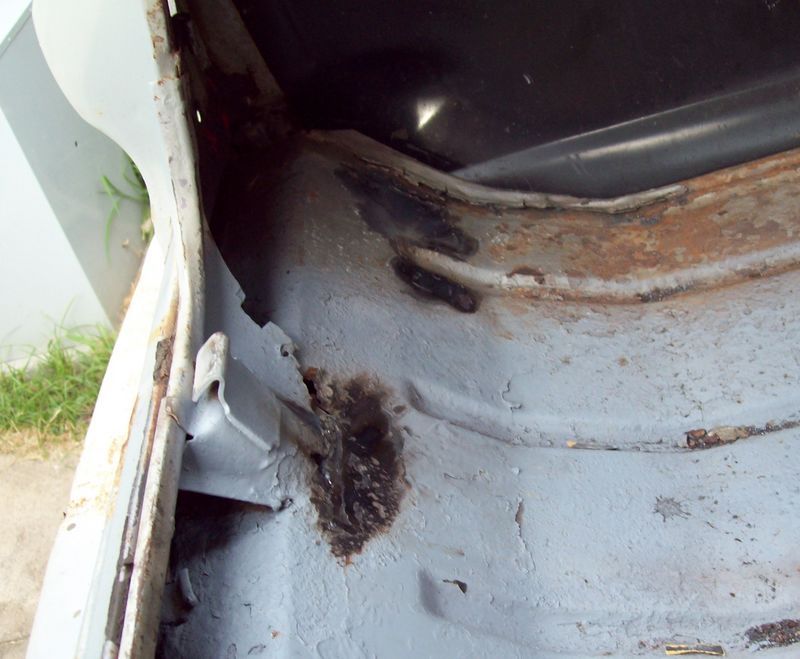
| The trunk area is rough. | |
| I'd patched the wheelwell on the pass side; just need to get some 1/2" tubing to put at the bottom. |
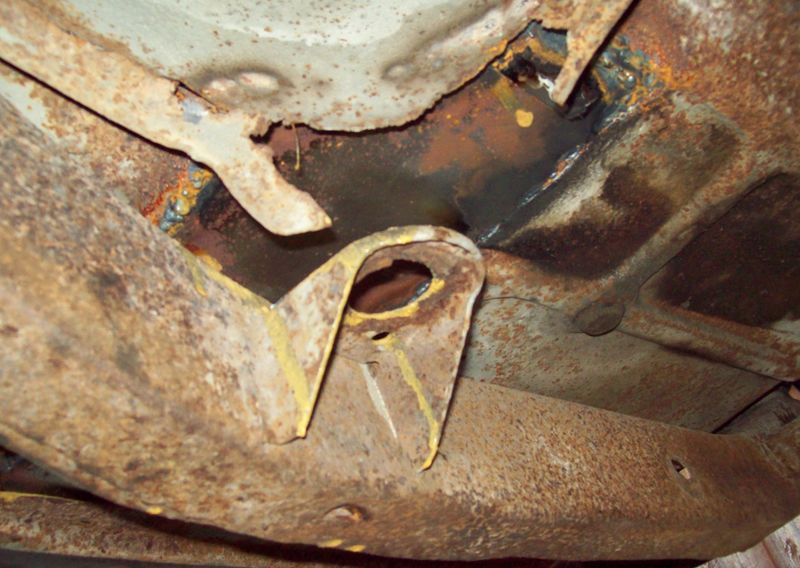
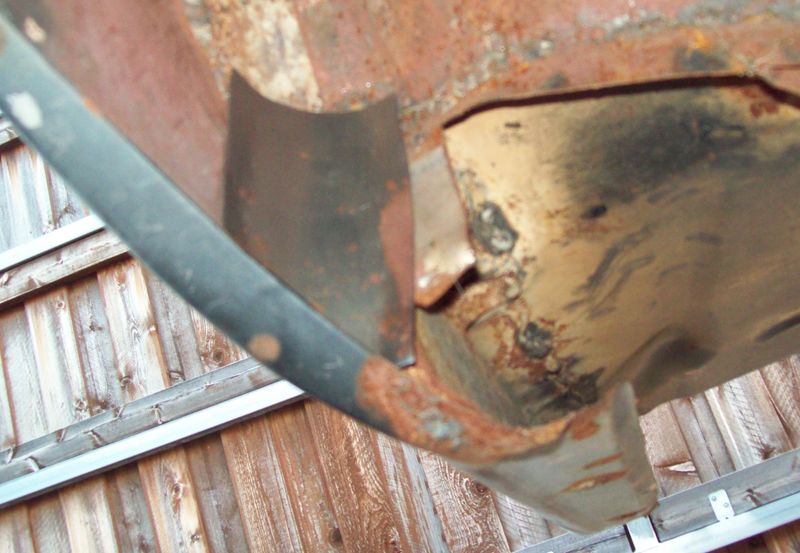
| Driver's side wheelwell is rough. | |
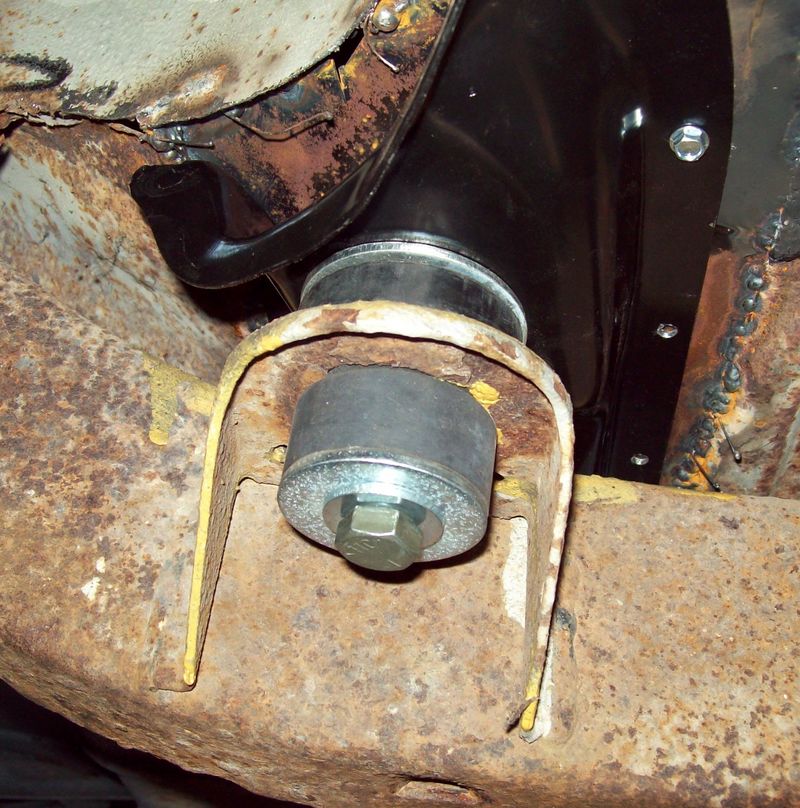
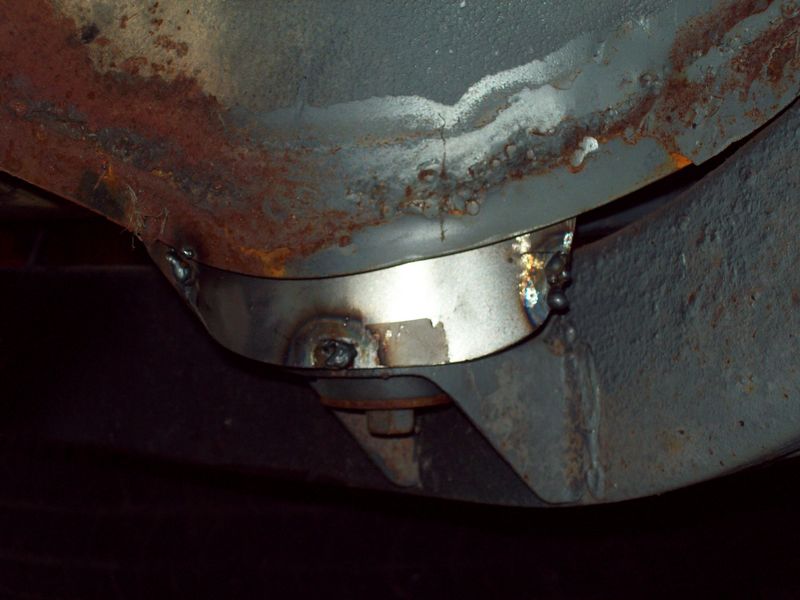
| Need to install the mount here. |
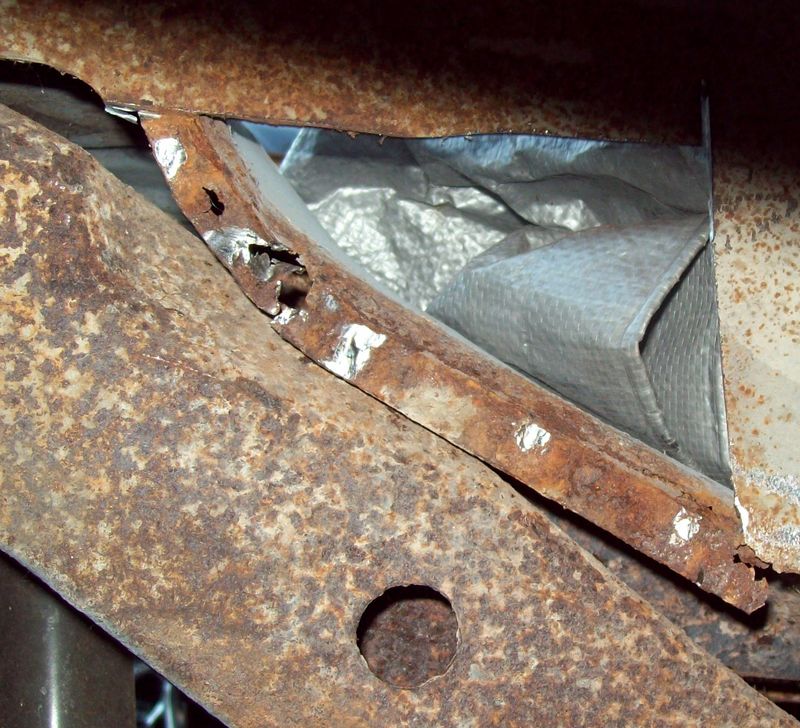
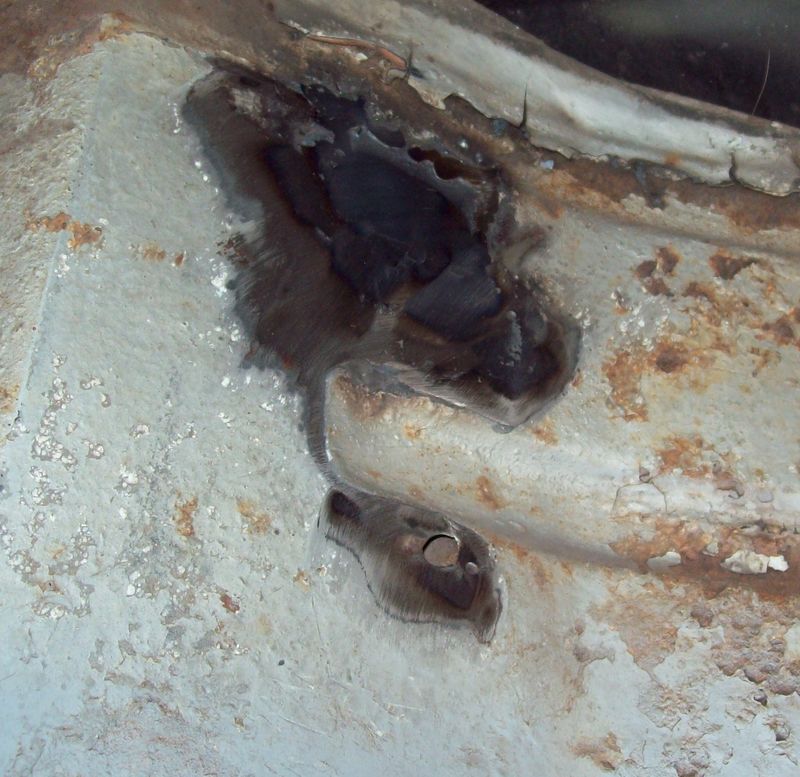
| Cleaning up the gap here on the pass mount. | |
| Hole needs patched too. |
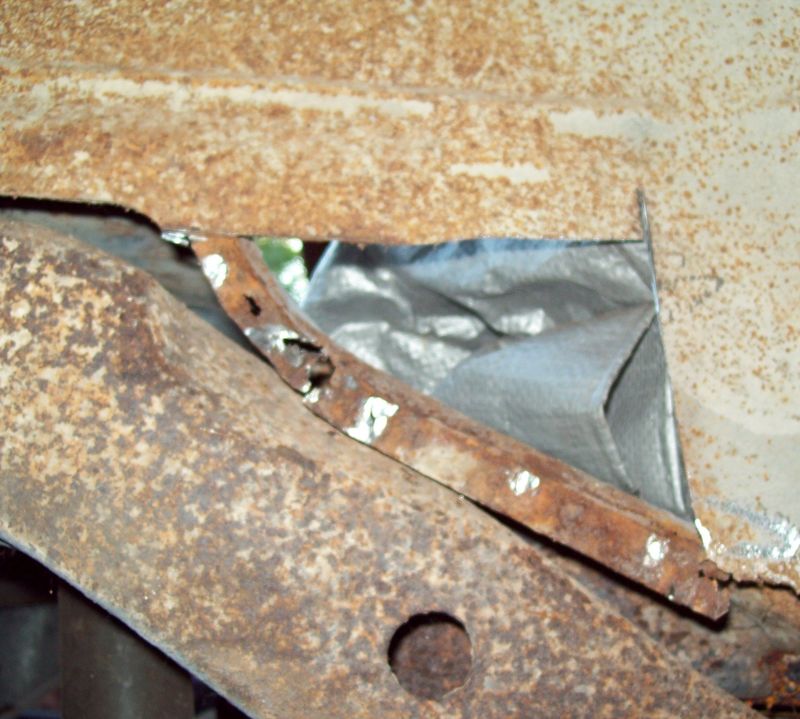
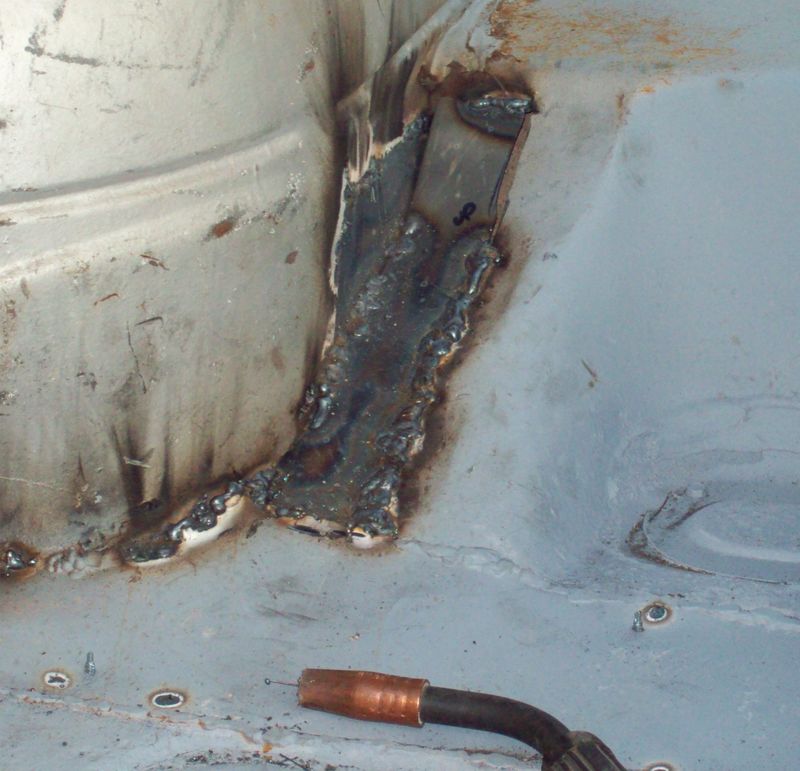
| Patched! | |
| Cut rust away from the driver's side. |
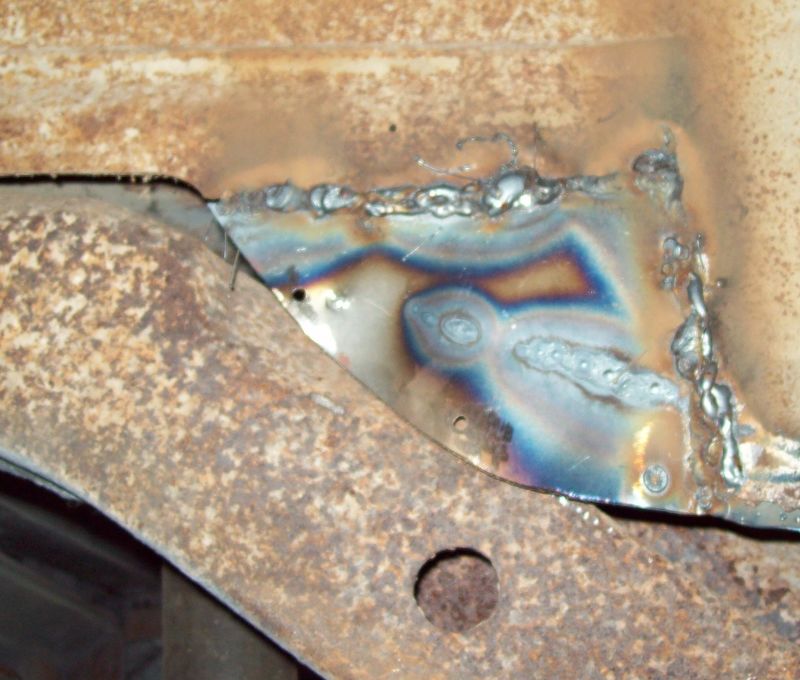
| Need to replace this flange too. | |
| Mount installed. |
| Ran the lines for the rear brakes - easier when it's out. | |
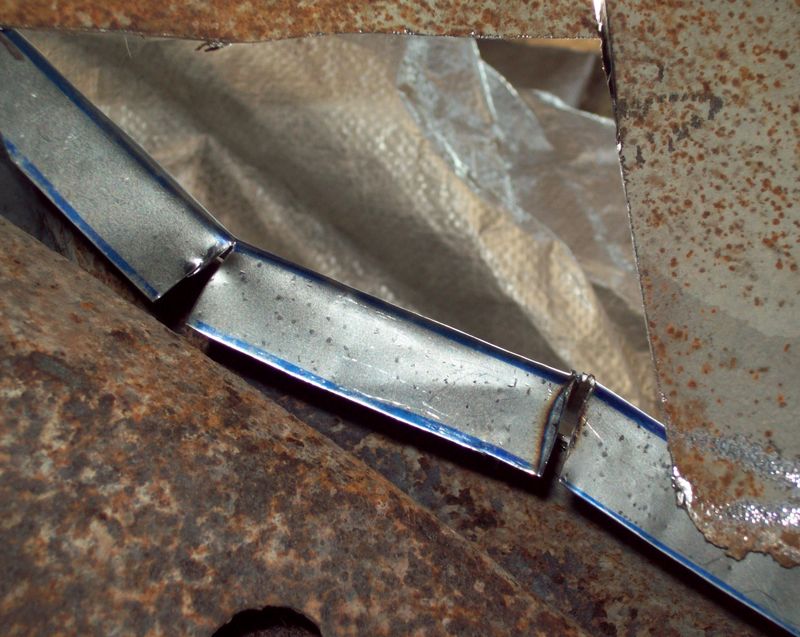
| Patch for the trunk floor/the flange |
| Cut the edge so it'd fold right | |
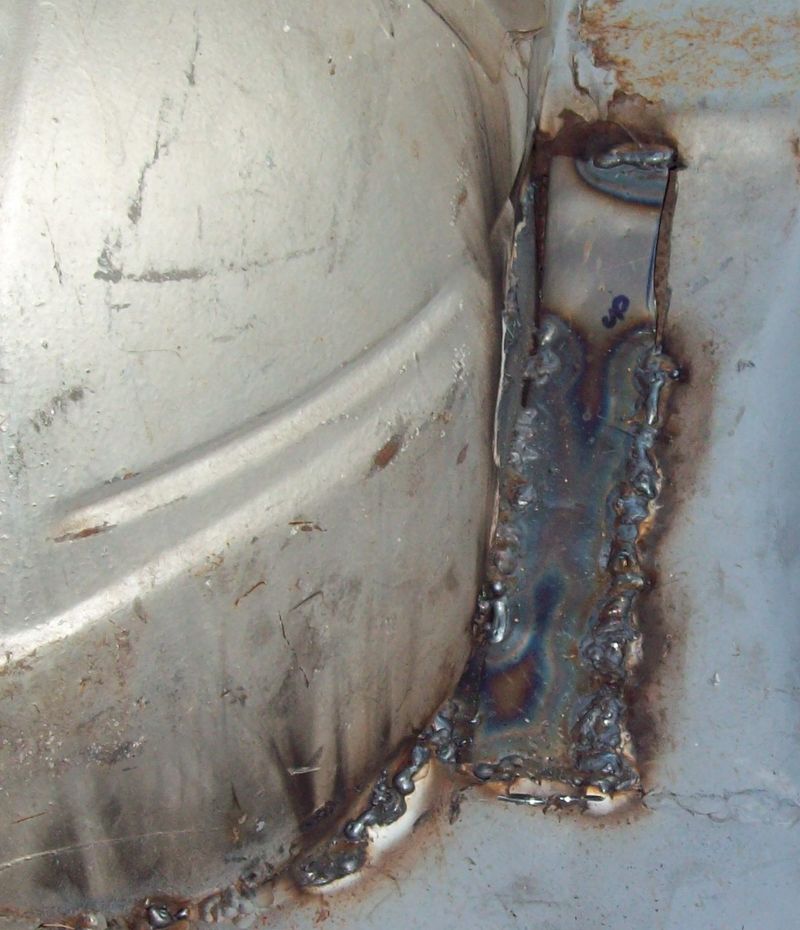
| Patch for pass brace done |
| Partially done with the trunk floor | |
| And the wheelwell |
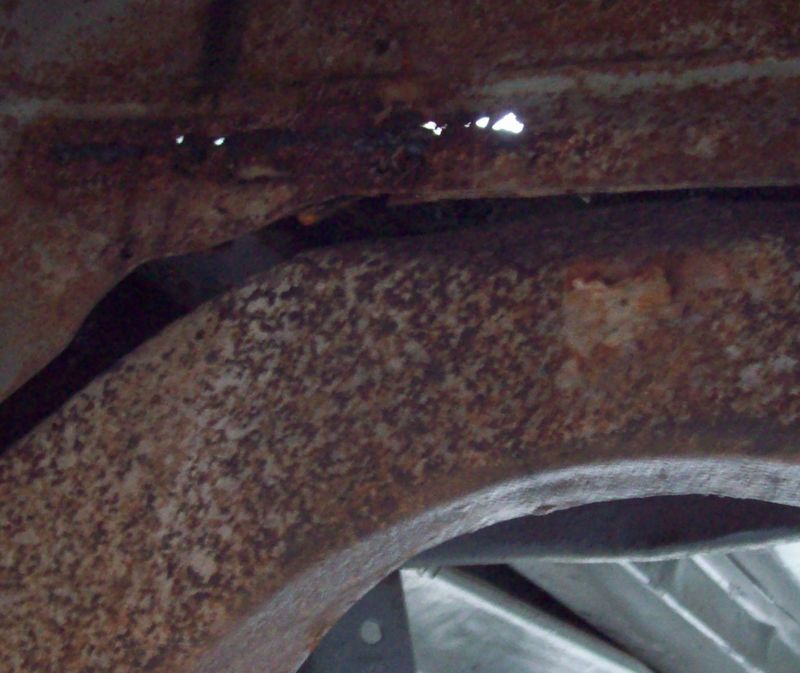
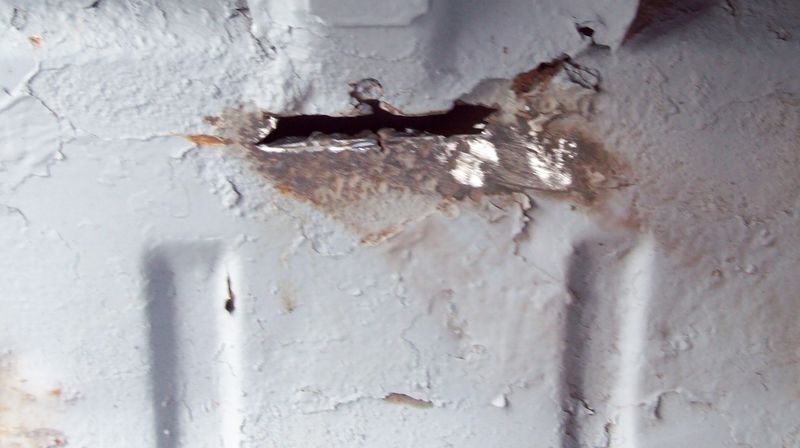
| There's holes forward on the drivers' well though. | |
| Easier to see when light streams through. |
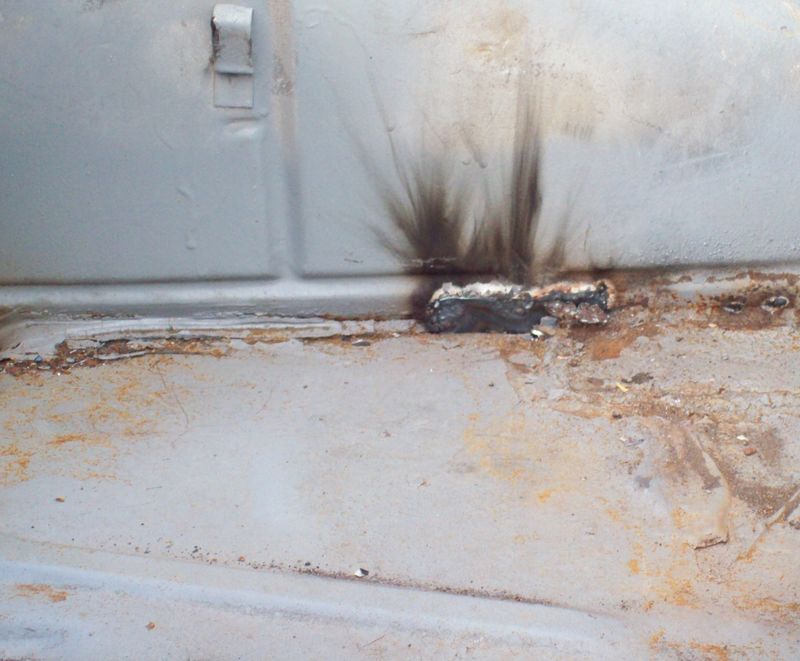
| Back to the trunk. | |
| Found some little rusted areas that needed work. Here's two patched, and one not yet patched. |
| This area is guaranteed to look bad no matter how I patch it. | |
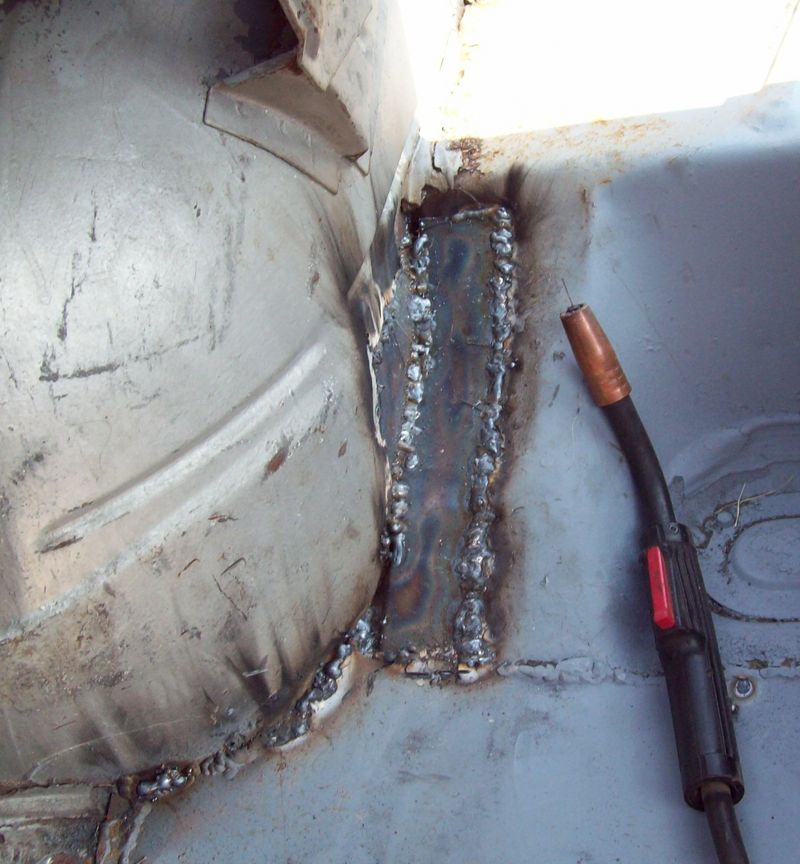
| Trunk floor done. |
| Trunk completely done. Short of primering and painting, I don't expect to do too much more here. | |
| Forward rust in the wheelwell patched. |
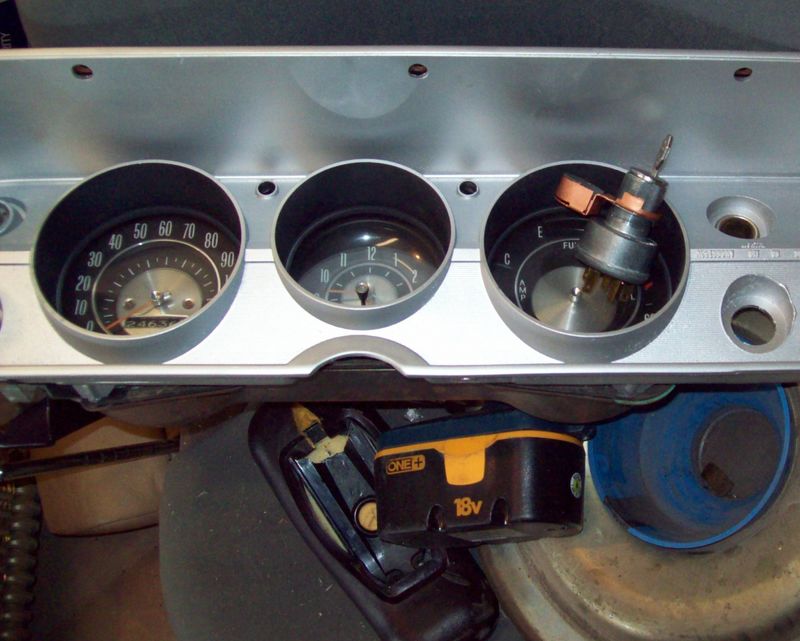
| When I cut that ignition switch apart, I didn't know I needed to save the bezel nut... so I think I threw it all away. I can't finish putting this together without it. | |
| Wipers sorted. Need to replace the washer outlets. |
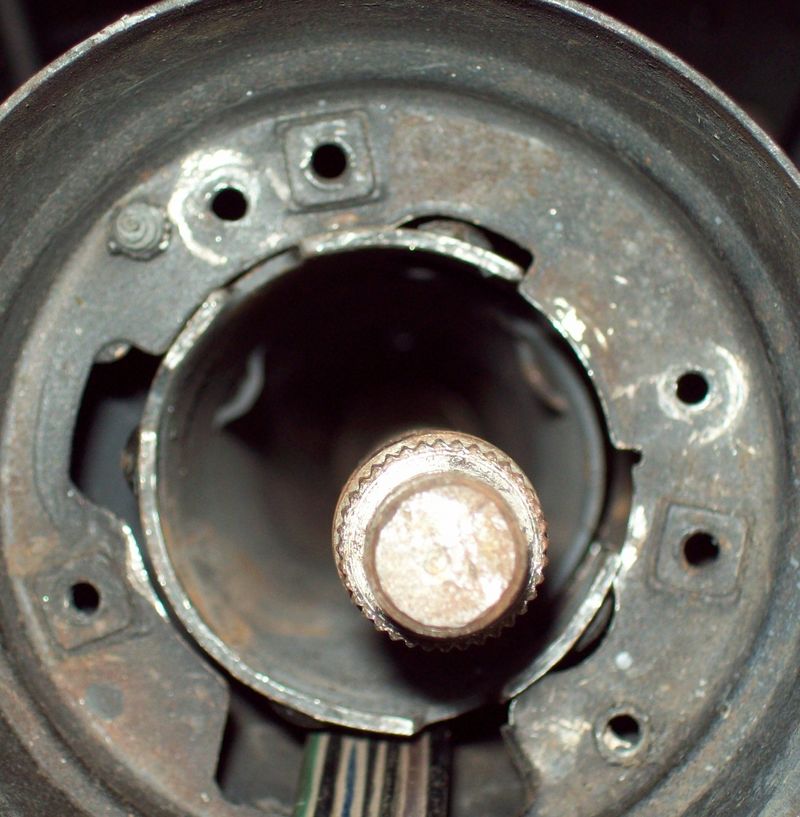
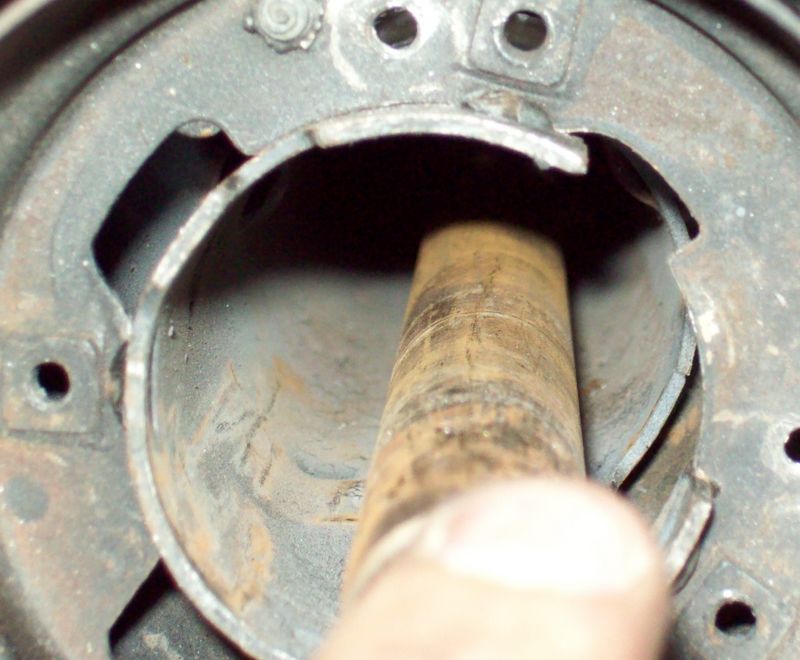
| Not sure how this is supposed to go together. Looks like you slide it down like this... | |
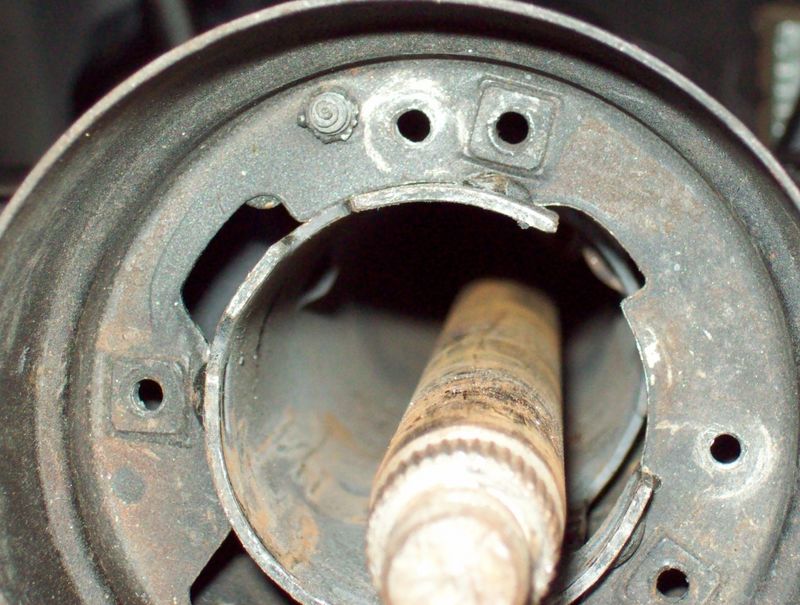
| and then a turn clockwise and it locks in place. |
| The nubs keep the collar from pulling off. | |
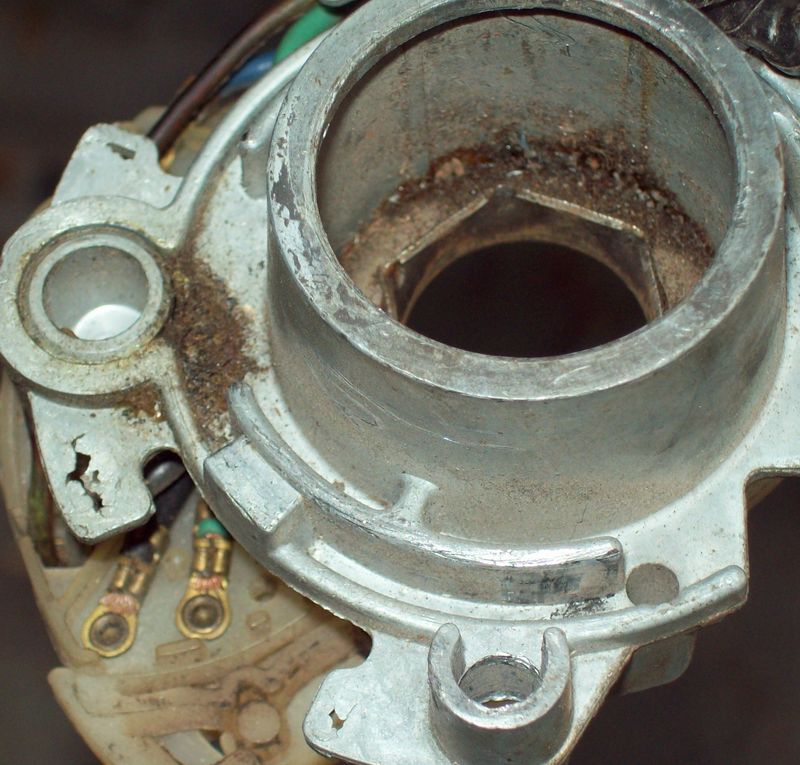
| However, these little nubs go into indentations in the column... |
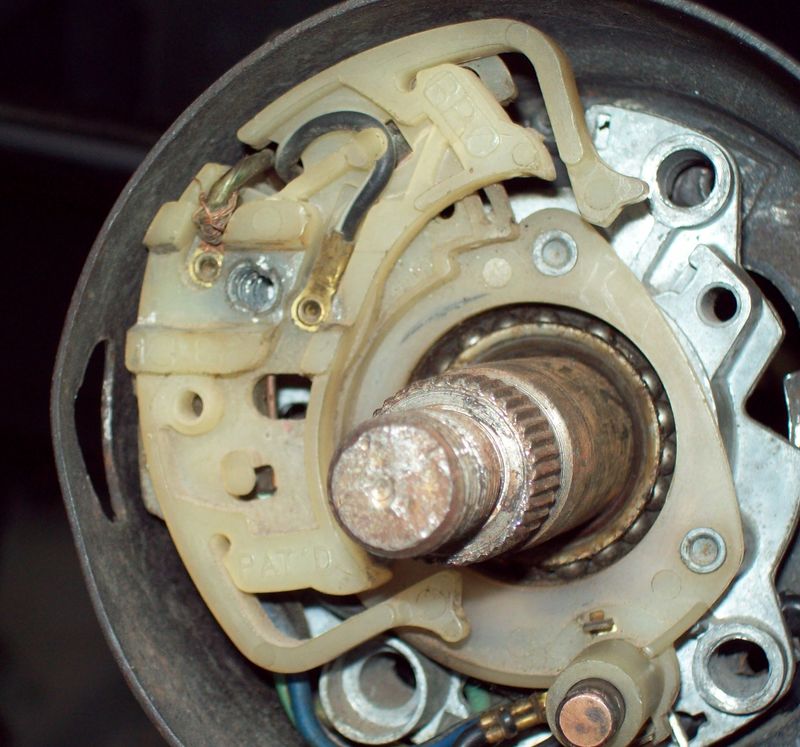
| and when they do, you end up like this -- the switch isn't close to lining up. | |
Go back to the previous day (16 May 09)