


5 Jan 03 - Begin welding the trunk pan.
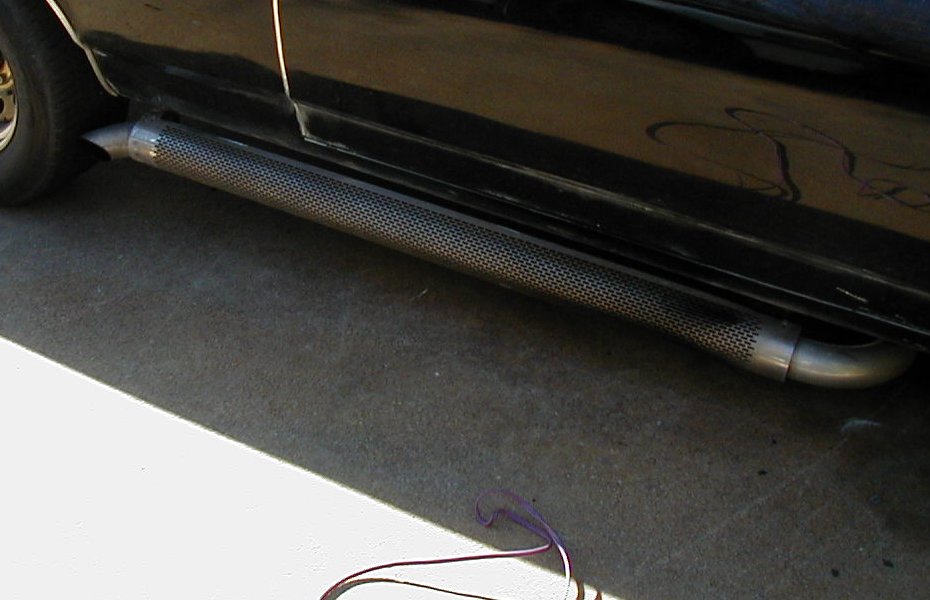
| Had to start the day with some El Camino maintenance. The sidepipe on this side had torn free. |
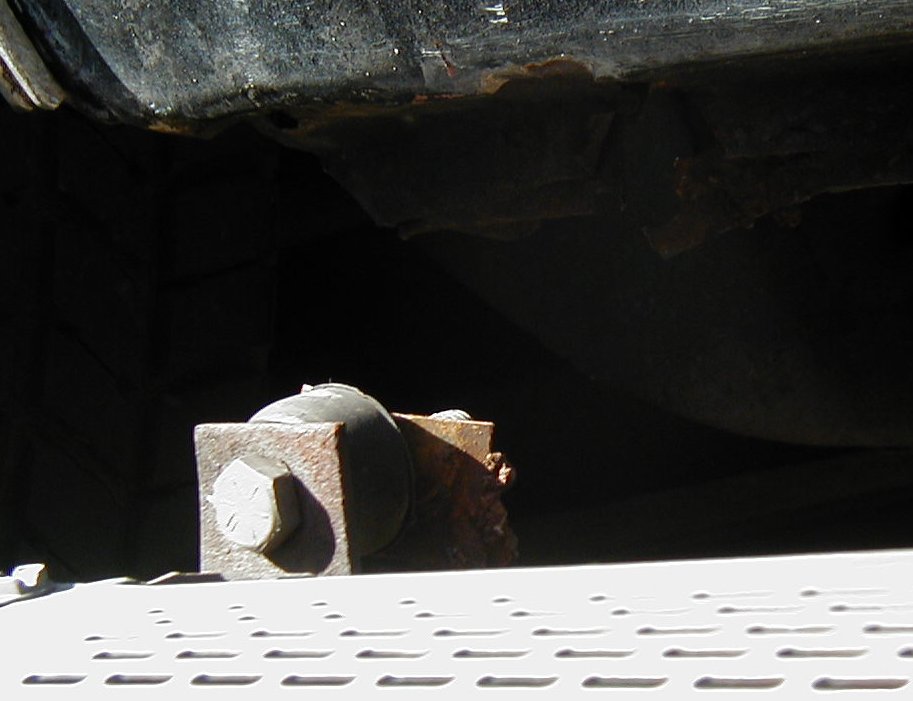
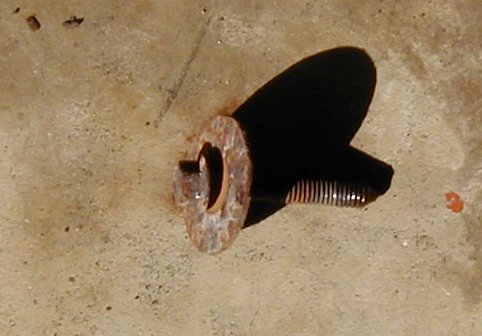
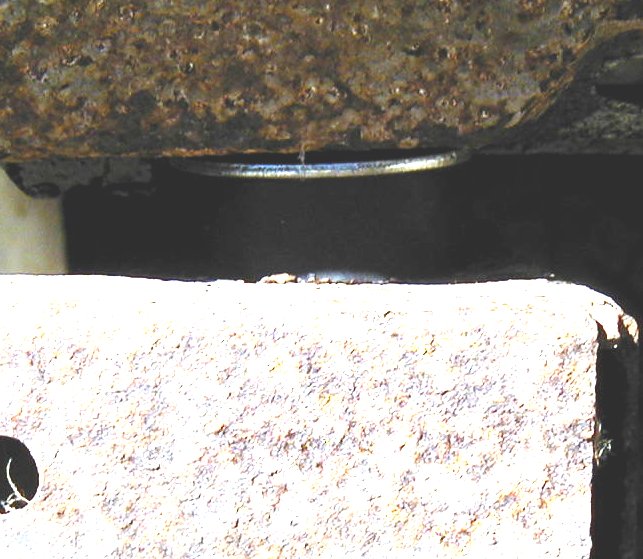
| There's only two points on each side that the sidepipe attaches. Previous sidepipes on this car were attached with what looked like a giant self-tapping wood screw (pointed tip, steep thread pitch). With this revision of the pipes, it was replaced with a regular bolt with nut. The portion of the lower pinchweld that the bolt was attached to tore free, so the pipe ended up dragging on the street as I was driving. Good thing I was not on the highway when it happened.. |
| Welded in a reinforcement and replaced the bolt. Good for a few thousand more miles; I still want to move to a proper exhaust with X-pipe. |
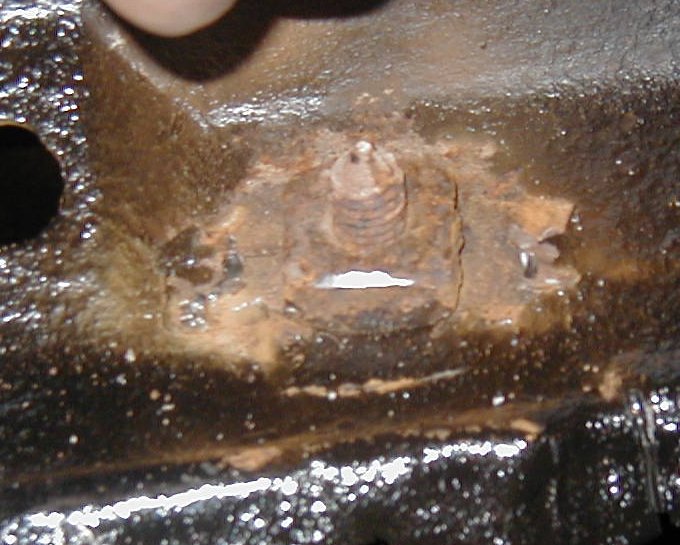
| With all that done, I was able to move on to the Chevelle. Started by tearing the cage off the cage-nut that was spinning freely. The cage was too rusted to hold the nut anymore. |
| With a 1 inch open-end wrench on the nut, I was able to remove the bolt. Finally, one of the body bolts came out intact. I didn't take a picture, but I welded the nut to the body instead of creating a new cage. |
| Really hard to tell, but this is the new body bushing in place on that nut. |
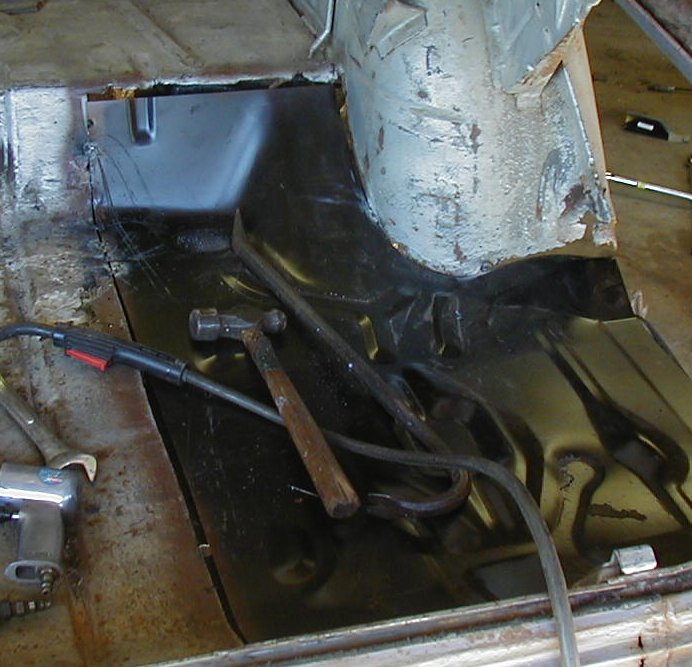
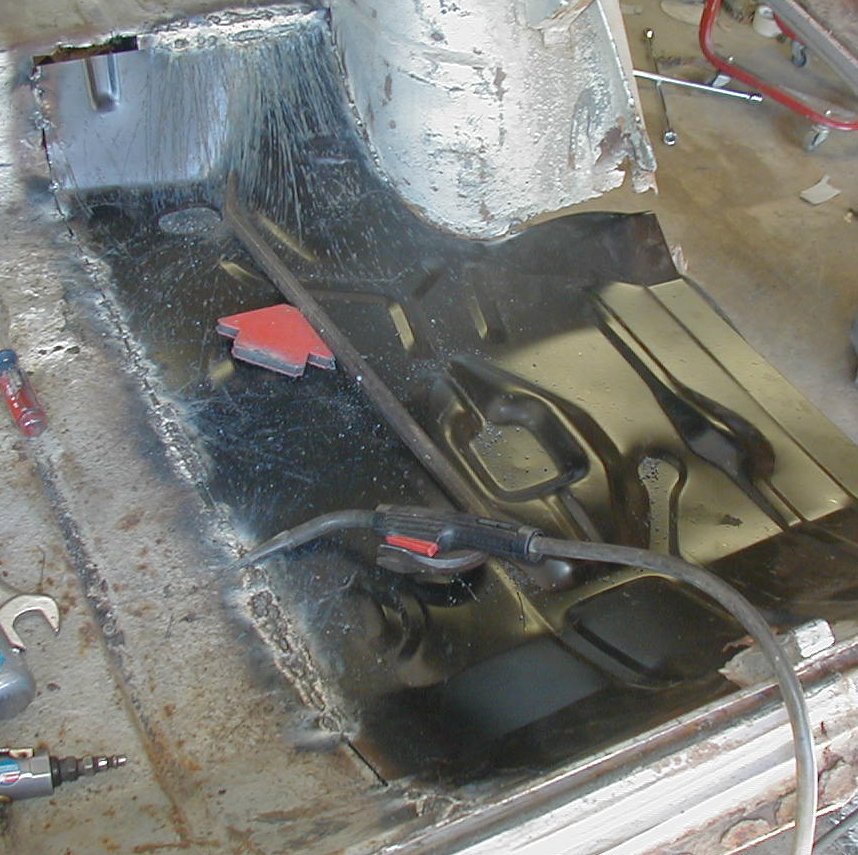
| Started tacking in the new pan. I really, really messed up cutting out the old pan. Too bad there's no "Undo" feature for this. |
| Not sure how much of the inner fender will get patched and how much will be fine. Here's one area that will probably end up getting patched. |
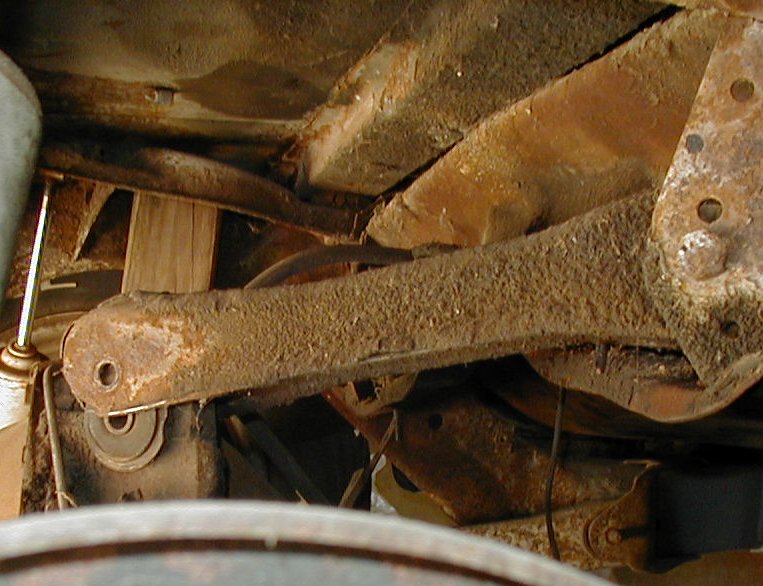
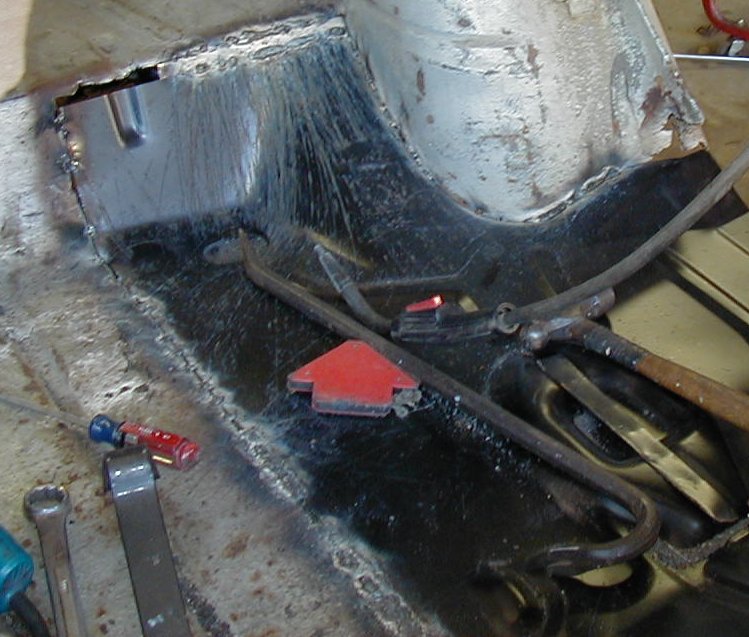
| Here's the rear suspension (as long as I was there, figured I should take a pic). Bolt for upper control arm was missing when I got the car. As soon as I finish the bodywork, next up is the suspension. |
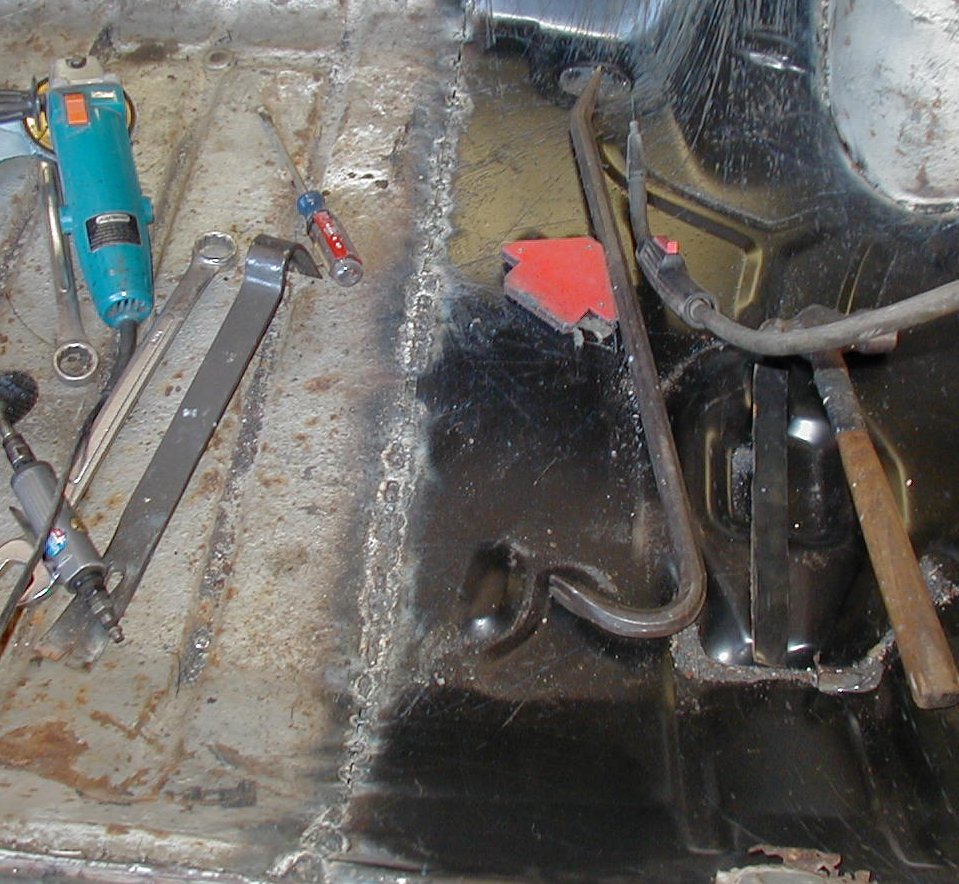
| Alternate view of inner wheelhouse. Alot of this needs to be patched. |
| I cut strips of metal to fill the gaps in some of these areas, and filled them in. |
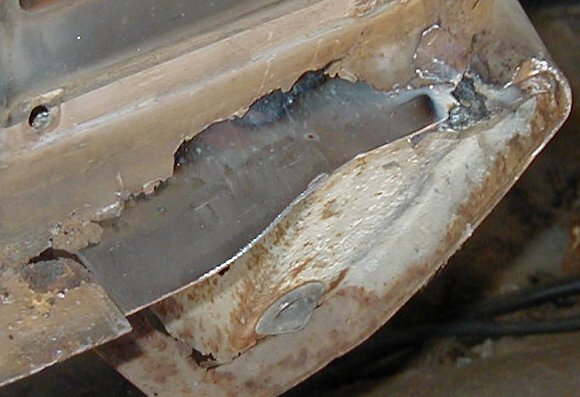
| Cut a patch for the hole in the rear panel from 16ga steel. This stuff is a little thicker than I would like for bodywork, but for this structural stuff it works great. |
| Inside view of the rear panel patch. I've still got to patch the outer skin here, but I don't want to use 16ga for it - 18 or 20 would be more workable (16 is very difficult to cut with snips and very hard to bend with anything other than a hammer) |
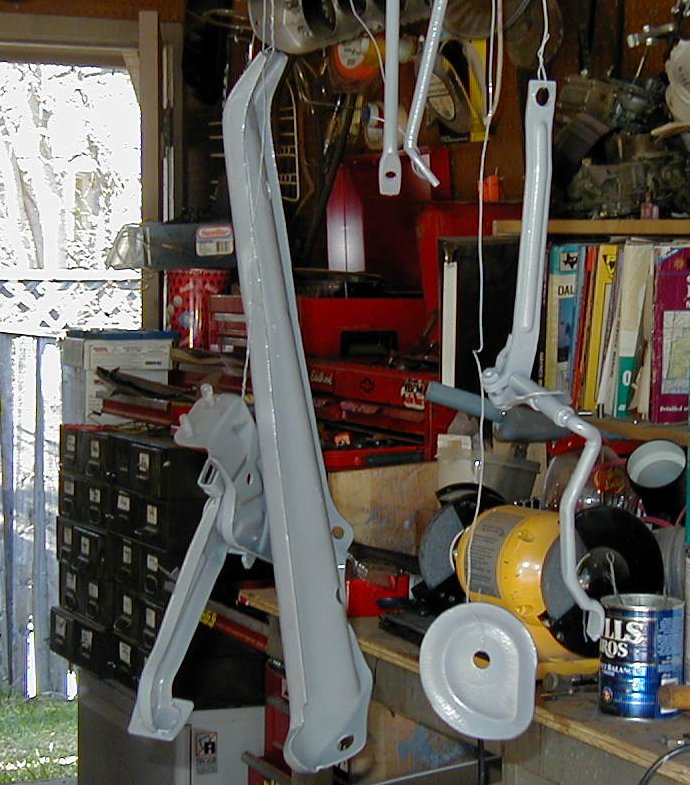
| Shifted gears a bit and painted the stuff that I've been hitting my head on every time I go to the workbench. Pulled the hood-latch out of the pile of stuff to paint, it should be phosphate coated instead. |
| Also painted the top of the hood. I'll end up shooting it again later, I wasn't able to get the rear edge at all, and I ran out of paint before I finished the passenger side edge. |
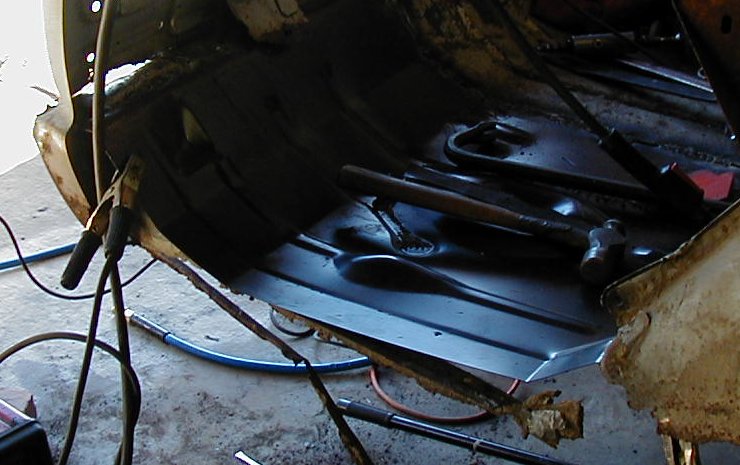
| Here's the outer view of the pan when I stopped for the day. I still haven't done the panel extension; I am not even really sure how to do it. I can't find anyplace that shows that these are reproduced for 65s. |
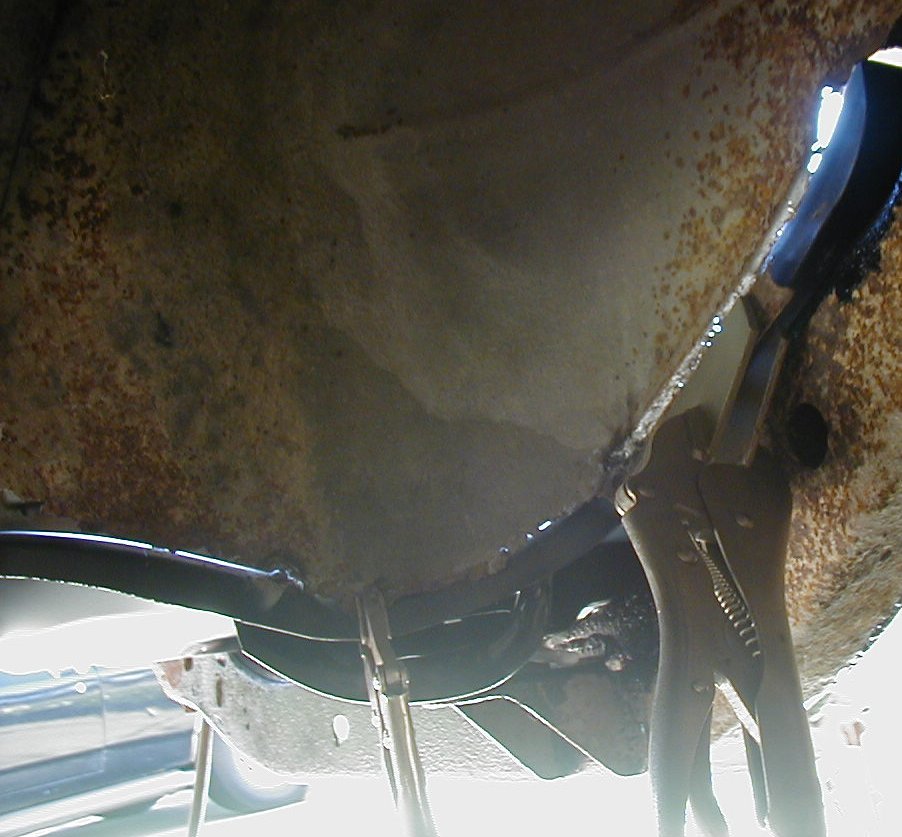
| Here's where I stopped for the day. The wheelhouse is partially welded; the inner edge is mostly welded now, I've got a gap to fill at the top edge but one of the grooves doesn't line up so I am not sure what I am going to do about it. |
| Closer view - the very front and very rear are only tack welded and there's a gap in the middle. The large gaps here are all filled with strips of metal and weld bead. |
| And the all-around view from the outside. I do not know why the rear drum is missing.. perhaps someone needed it for something else. Regardless of why, I will need to get a new drum or convert to rear discs. I've still got to patch the outer wheelhouse. I've made my pattern for the wheel opening (from the new quarter) but have not yet made the patch. I won't be fitting it until the quarter is on anyway, since it needs to line up well with that. |
Go back to the previous day (28 Dec 02)
Go on to the next day (12 Feb 03)